Procedure
-
Navigate to Connect > End User Connectivity > Virtual Private Network.
-
Choose a profile from the VPN Profiles list, click the ellipses ... and choose Edit.
-
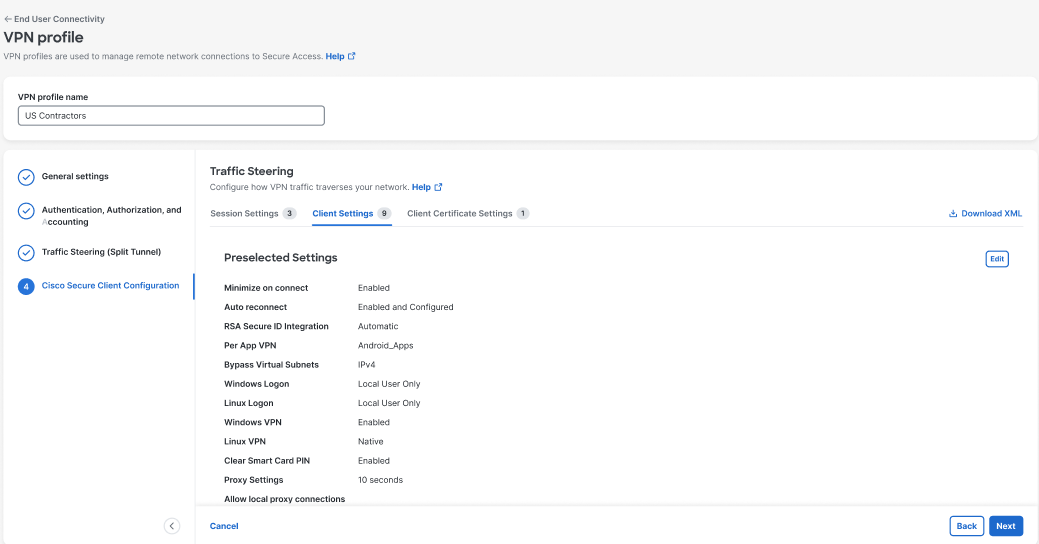
Click through the profile to the Cisco Secure Client Configuration.
-
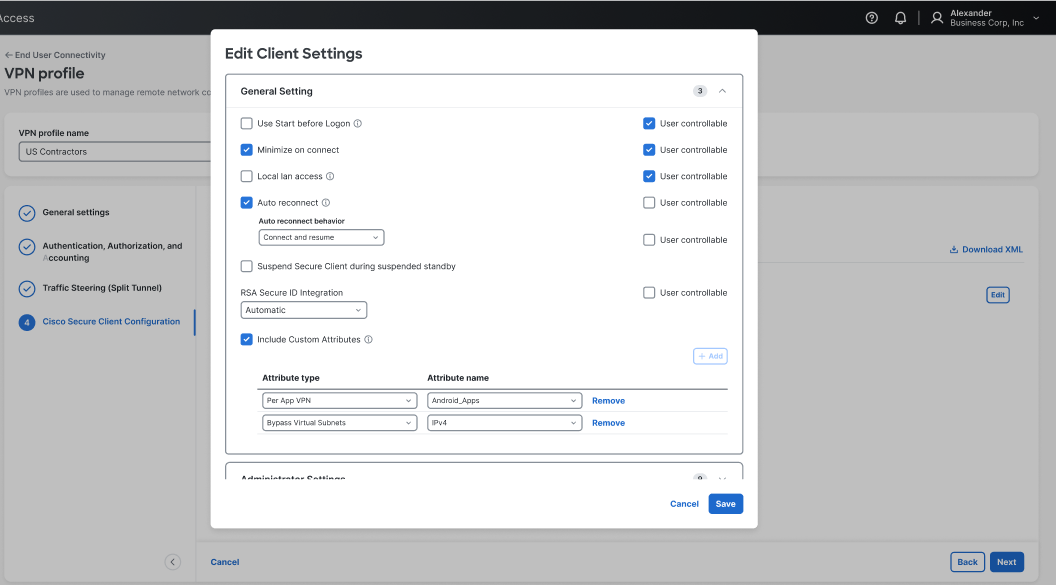
Click the Client Settings tab then click Edit to modify client-specific settings. See The Cisco Secure Client Profile Editor for complete information about Cisco Secure Client settings.

-
Check Include Custom Attributes and add the desired attributes to the VPN profile.
-
Click Save.
-
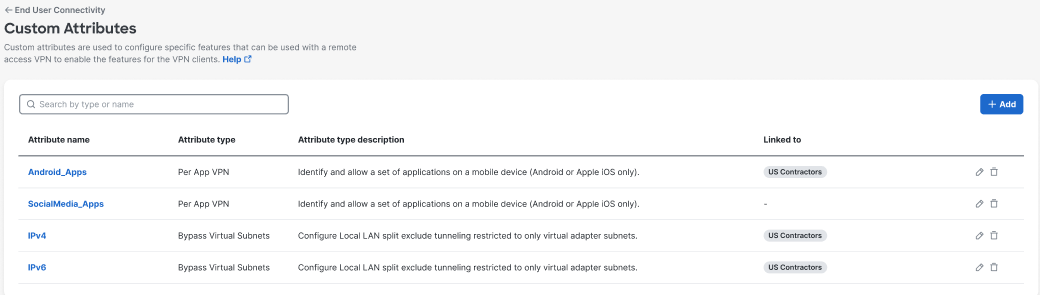
Navigate to Connect > End User Connectivity > Virtual Private Network and click Custom attributes to view the custom attributes available to VPN profiles from the Custom Attributes dashboard, which also includes which VPN profiles have assigned attributes in the Linked to column.