Step 3 – Deploy the LDIF Source Files
Deploy the LDIF source files on your server. For more information, see Best Practices for LDIF Source Deployments and Requirements.
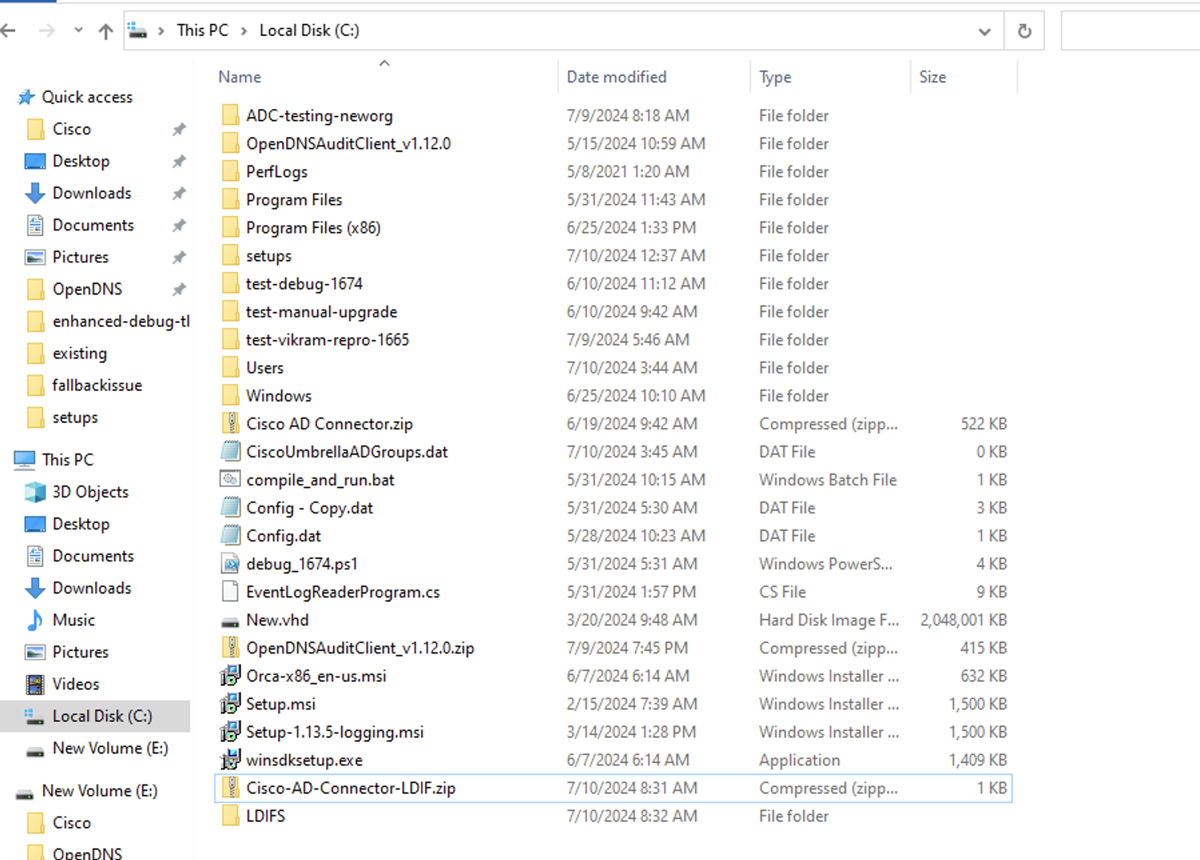
- Navigate to the C:\ drive on your server.
- Generate the LDIF files for the users and groups in your organization, and zip the files into a file. Name the file Cisco-AD-Connector-LDIF.zip.
- Base-64 encode the value of the objectGUID fields.
- Use two colons (::) to separate the objectGUID fields.
- For users, create an UserStruct.ldif file. The supported fields are:
- dn, objectGUID, sAMAccountName, userPrincipalName, memberOf, and primaryGroupID.
- For groups, create a GroupStruct.ldif file. The supported fields are:
- dn, objectGUID, sAMAccountName, userPrincipalName, memberOf, and primaryGroupToken.
- Once you create the ZIP file, the AD Connector automatically syncs the users and groups with Secure Access. Syncs occur every five minutes.