Step 2 – Configure the Connector
- Navigate to the launched Amazon EC2 console to configure the connector instance.
- Enable Auto-Assign Public IP.
This ensures that a Datagram Transport Layer Security (DTLS) connection uses the same IP address as Transport Layer Security (TLS) connections, which is required for optimal throughput.
- Set the SSH key pair to enable access to the connector instance, and then save your SSH
key to your local system. Use the acadmin username.
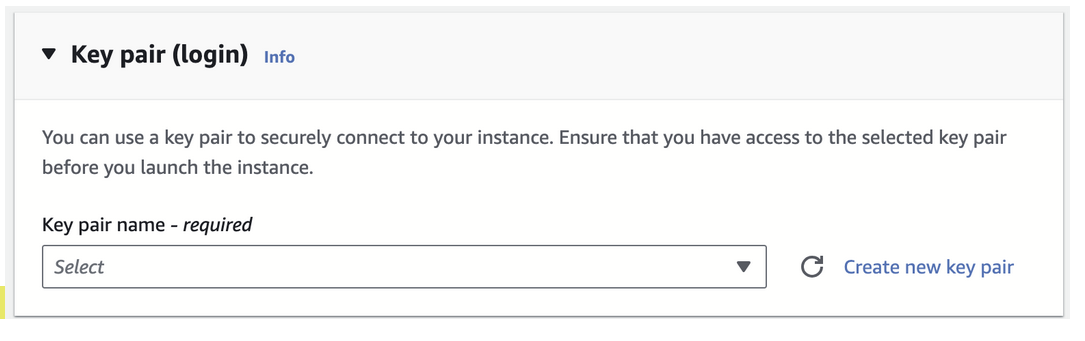
SSH access is required in order to troubleshoot an issue or get information about the connector to provide to Secure Access support. You can SSH to the connector after the instance launches.

You can not enable SSH access after the connector deploys on AWS. - Associate the connector with the connector group.
- Navigate to Advanced Details, scroll to the User Data - optional area.
- In the text box, type KEY="" and paste the provisioning key that you copied from the
connector group in Secure Access between the quotation marks, with no spaces anywhere in
the text box. For more information about creating connector provisioning keys, see Provisioning Keys for Resource Connectors.

- Specify the number of connector instances to create based on the calculations you used for required throughput when you added the connector group.
For redundancy, you should deploy at least two connector instances for each group.

