Software Secure Access
Activity Manage

Cisco Secure Access Help Manage Network Tunnel Groups Add a Network Tunnel Group Procedure Step 3 - Routing

Last updated: Aug 07, 2025

Step 3 - Routing

Configure routing options and network overlaps for this tunnel group.

Procedure

1

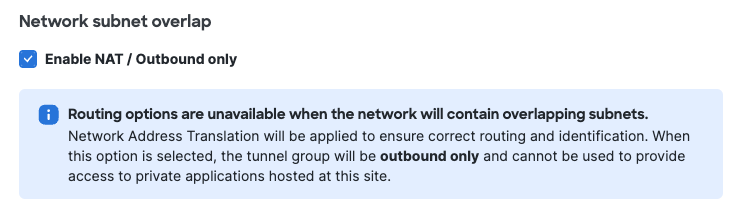
Check Enable NAT / Outbound only if you determine that the IP address space behind the tunnel group overlaps with other IP address spaces in your network.
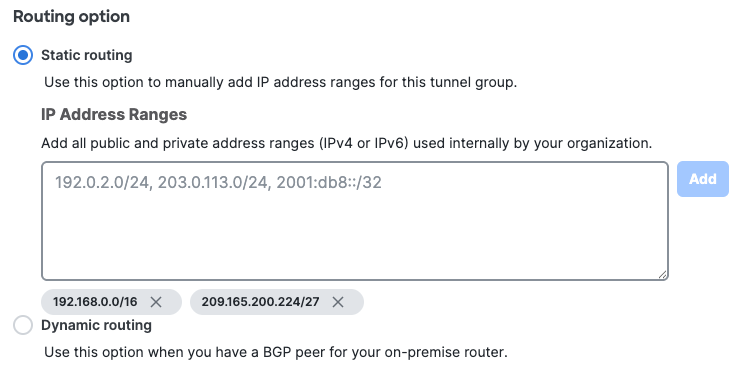
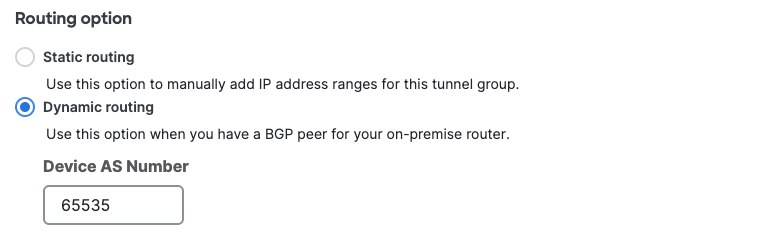

 
Enabling NAT for outbound traffic disables the routing options described below. Private applications hosted behind these tunnels will not be accessible.
2

Choose a Routing option for this network tunnel group.

  • Choose Static routing to manually add IP address ranges for this tunnel group. You should add all public and private address ranges used internally by your organization.


    Adding a default route in static routing is not supported and can lead to traffic disruptions.

  • Choose Dynamic routing when you have a BGP peer for your on-premise router. Enter the router's autonomous system (AS) number.

    • Expand Advanced Settings for additional dynamic routing options.

      • Multihop BGP enables the ability for BGP peers to establish a connection when not directly connected.

        • Enter the IP Ranges from where BGP peering sessions will originate, then click Add

        • (Optional) Enter the Hop count to limit the number of hops over which the BGP multihop session is established. The range is 1 to 254 hops. The hop count is disabled until IP addresses are entered, with a default value of 1.


          The hop count equates to the TTL (Time to Live) parameter.

      • Block default route advertisement block the advertisement of the default route in dynamic routing mode. Advertising default routes via BGP is not supported and can lead to traffic disruptions.