Step 2 – Launch the Virtual Appliance on KVM
-
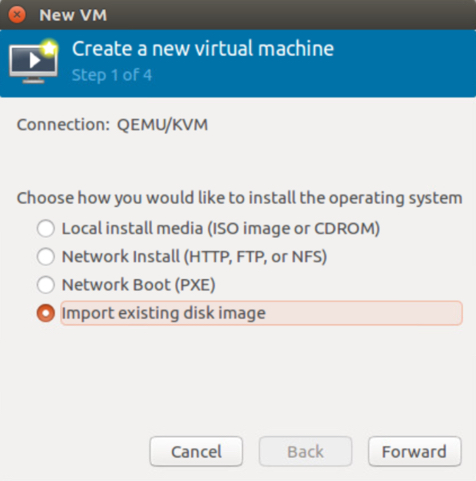
Open the Virtual Machine Manager on your Linux system running KVM and click Create a new virtual machine.

-
In the first step of the wizard, choose Import existing disk image.
-
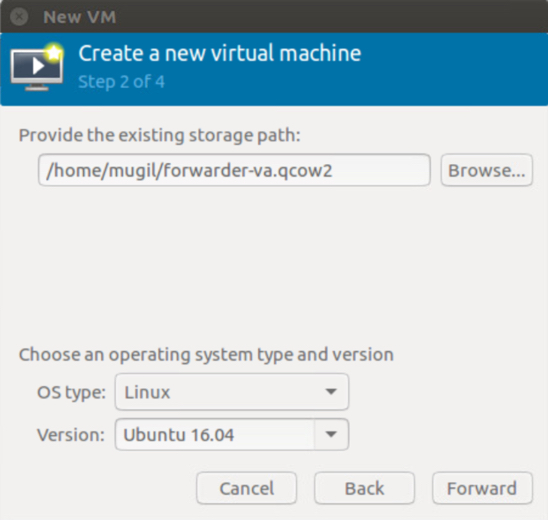
Provide the existing storage path to your forwarder-va.qcow2. Set the OS type to Linux and click Forward.
-
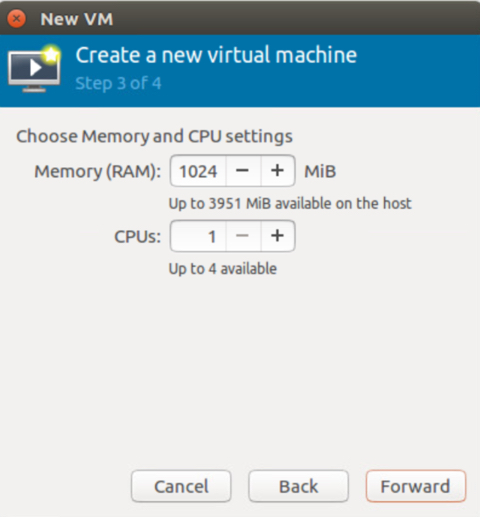
Set the memory and CPU settings to at least 1 CPU and 1 GB RAM and click Forward.
-
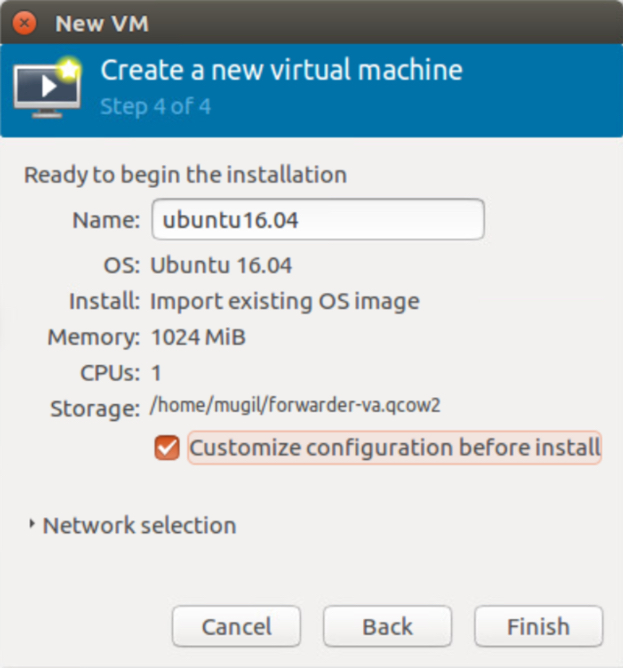
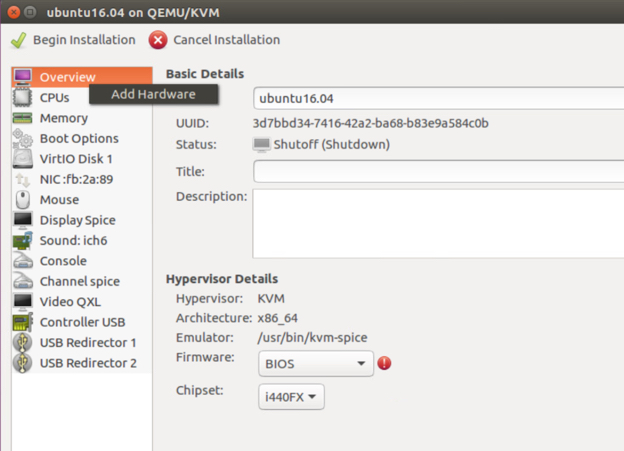
In the last step of the wizard, select Customize configuration before install and then click Finish.
- Select Add Hardware.
-
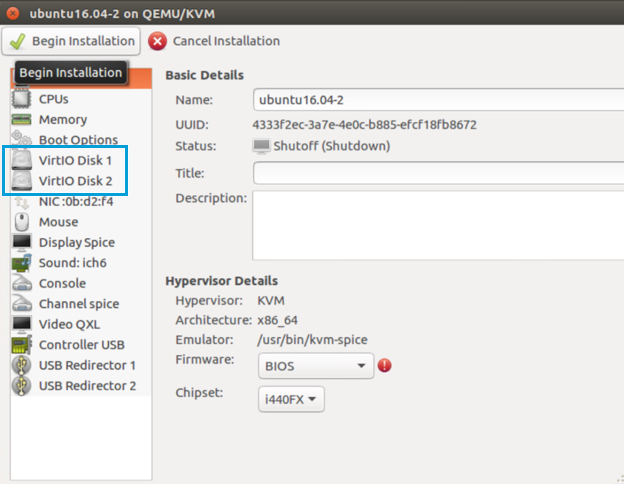
Select Storage, add or create custom storage, add the dynamic disk, and then click Finish.
You should then see two disks.

-
Click Begin installation to create the VA.
-
If your network supports DHCP, the VA will get auto-configured with a DHCP IP address and will register to Umbrella using this IP. You can configure the VA on KVM through two mechanisms:
- Press Ctrl+B on the VA console and entering the Configuration mode.
Or
- Initiate an SSH connection to the DHCP IP—this IP can be retrieved in Secure Access—and enter Configuration mode.
- Press Ctrl+B on the VA console and entering the Configuration mode.


You can now configure the VA. For information about configuring VAs, see Configure Virtual Appliances.