Step 1 – Prepare the Virtual Appliance Image on Azure
This is a one-time task to create an image in Azure that can be used to launch multiple VAs.
|
|
Generation 2 VMs are not supported for VA deployments.
|
-
Navigate to Connectors > DNS Forwarders and click Download Components.

-
Click Download for VA for Hyper-V.

Umbrella generates and downloads to your computer a .tar file unique to your deployment.
This tar file includes:
-
a .zip file containing the virtual hard disks that need to be deployed on Azure
-
a signature file
-
a Cisco public certificate to validate the signature
-
a readme file
-
-
Extract the contents of the tar file using the command
tar –xvf <tar filename> -C <Destination folder>.To verify the integrity of the downloaded file, validate the signature by following the instructions provided in the readme file. On successful signature validation, you should see a message saying “Verified OK."
-
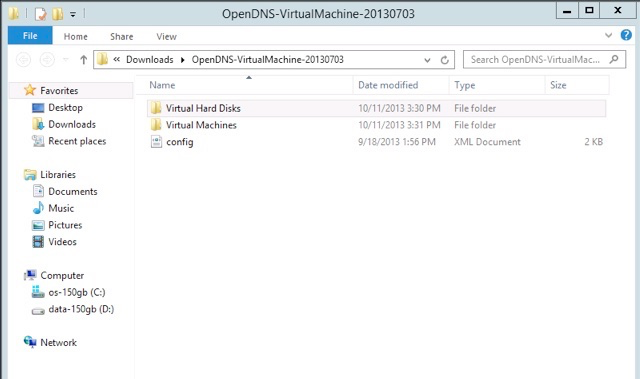
Extract the downloaded zip file. You'll find two folders—Virtual Hard Disks and Virtual Machines—and a config file.
-
Open Windows PowerShell as Administrator, navigate to the Virtual Hard Disks folder, and convert the vhd files (forwarder and dynamic) in their respective folders to a fixed type format acceptable by Azure.
To convert and resize the forwarder file, run the following commands:
Convert-VHD -Path .\forwarder-va.vhd -DestinationPath forwarder-fixed.vhd -VHDType fixed
Resize-VHD .\forwarder-fixed.vhd  -SizeBytes 8GB
To convert and resize the dynamic file, run the following commands:
Convert-VHD -Path .\dynamic.vhd -DestinationPath dynamic-fixed.vhd -VHDType fixed
Resize-VHD .\dynamic-fixed.vhd -SizeBytes 30MB
Conversion free disk space requirementsConversion requires at least 9GB of free disk space to create the modified disks. The new forwarder-fixed.vhd will consume approximately 8GB of space. Machines with less than 9GB of space will fail to convert with a red error message.
-
Upload the
forwarder-fixed.vhdanddynamic-fixed.vhdto a blob in your Azure storage account using the Azure portal or the AZ CLI.
This is a one-time upload. -
Create an image in Azure from these virtual hard disks using the Azure portal.
Use the
forwarder-fixed.vhdas the OS disk (OS type: Linux) and thedynamic-fixed.vhdas the data disk.
Ensure that Host caching for both the OS disk and data disk is set toRead/write. Since second generation VMs are not supported for VA deployments, ensure that you set VM Generation toGen 1.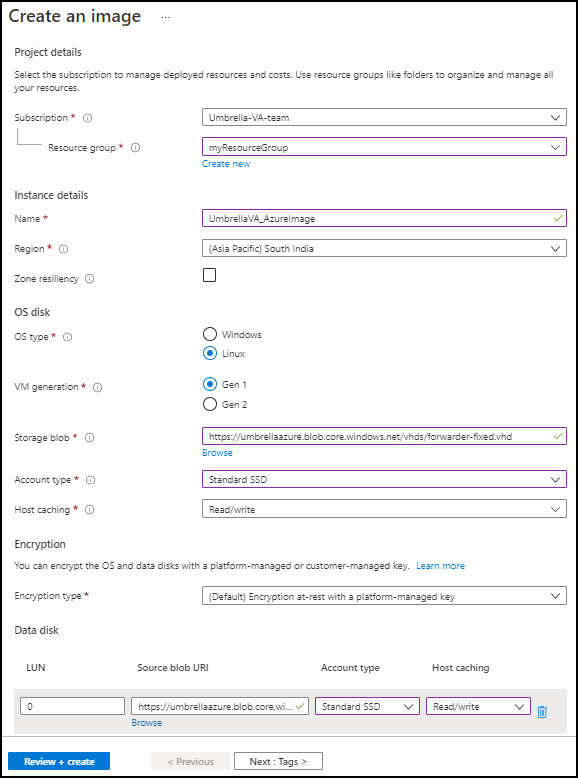
-
h. Once the VA image is created in Azure, use this image to launch multiple VAs. For more information, see Step 2: Launch the Virtual Appliance on Azure.


