Procedure
-
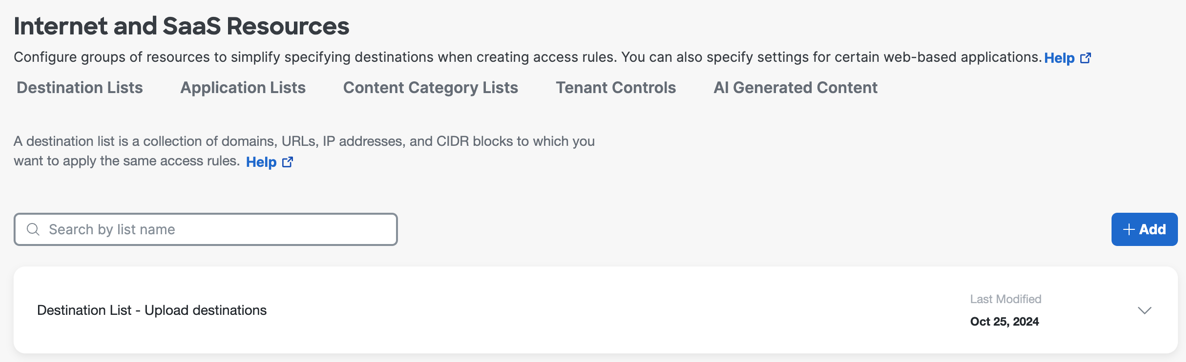
Navigate to .
-
If you are uploading destinations to an existing destination list, navigate to the destination list and click the caret to expand the destination list.
-
If you require a new destination list for the destinations in the text file:
-
Add a destination list. You don't need to add any destinations.
-
Save the new destination list.
-
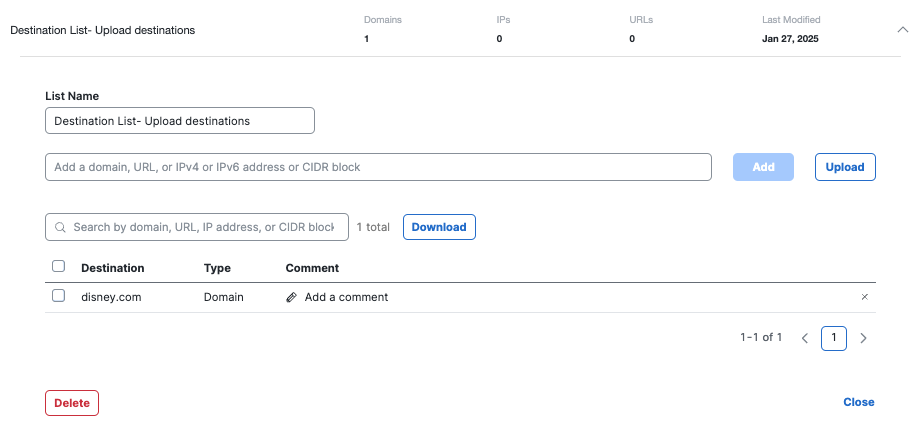
Click the caret in the table row to expand the new destination list.
-
-
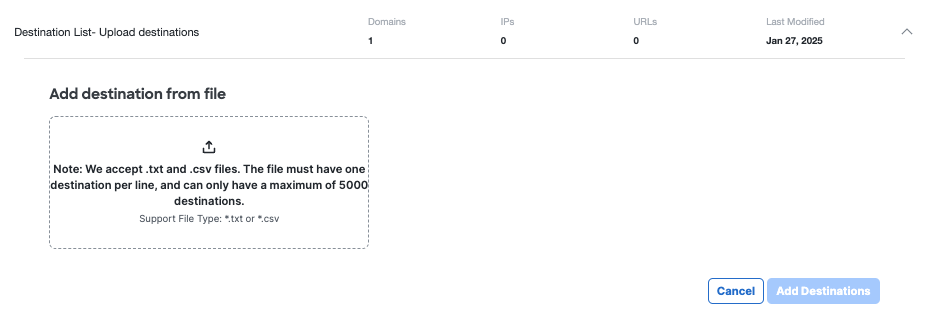
Click Upload. The current uploader supports text and CSV files in the format of one destination per line. Excel files are not supported.
-
Select or drag and drop a .txt or CSV file that contains your destinations.
If you want to remove the file and choose a different file, click Replace.
-
Click Add Destinations.
Supported destinations in the file are added to your destination list.
If your bulk upload includes unsupported destinations, the upload does not fail, but only supported destinations are added.
-
Immediately after uploading the destinations, look for a pop-up message. If the file contained unsupported destinations, this pop-up is displayed.

-
To download a spreadsheet that you can use to determine which destinations failed and why, click the link in the pop-up.
-
Click Save.


