Integrate Cisco ISE with Secure Access
This topic describes how to complete the integration between Cisco ISE and Cisco Secure Access.
-
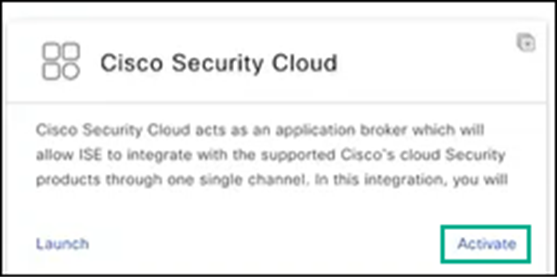
Return to the Cisco DNA Portal tab, search for the Cisco Security Cloud application, and click Activate.
-
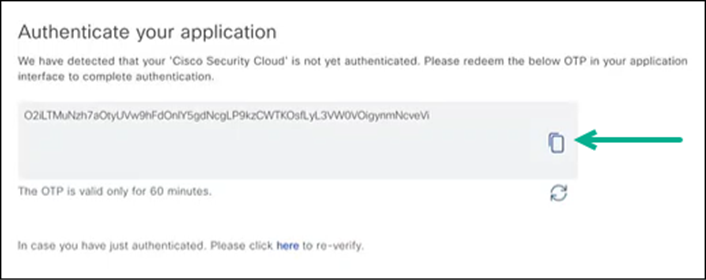
Choose Authenticate your application and copy the resulting token to your clipboard by clicking the copy icon.
-
Click Exit.
-
Return to the Secure Access tab.
-
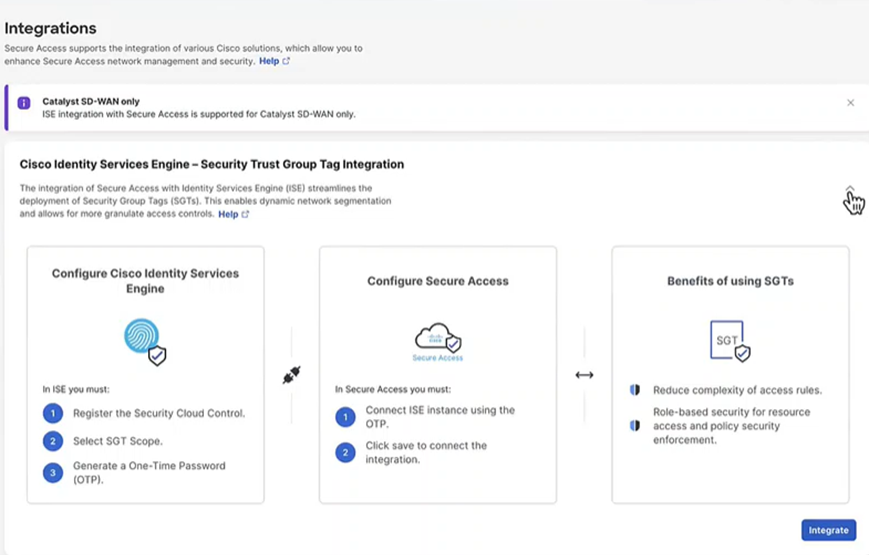
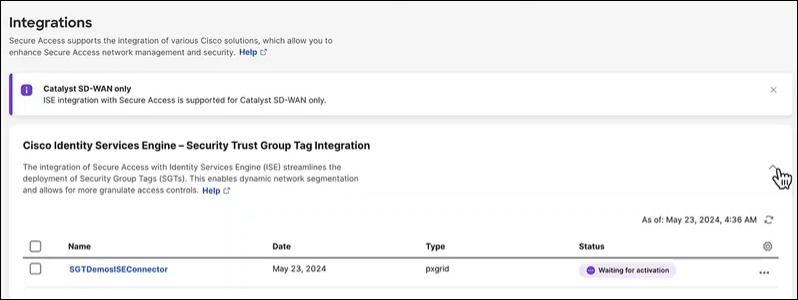
Navigate to Admin > Management > Integrations.
-
Click Integrate to add the ISE integration.
-
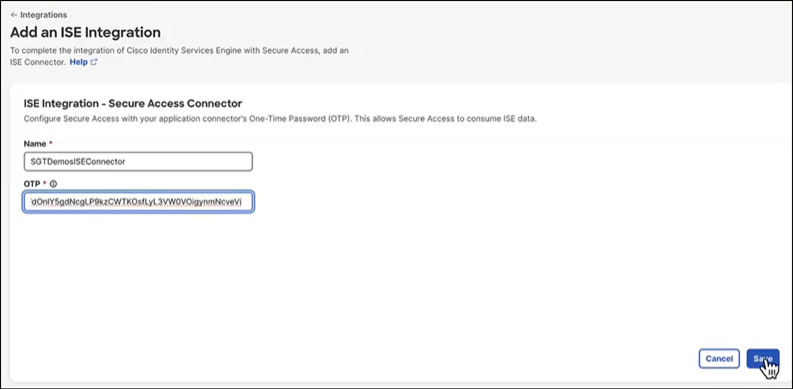
Enter a Name for the ISE integration, paste in the copied token, and then click Save.
-
The system returns a confirmation banner indicating a New ISE Cluster added.
-
Expand the integration pane to view the status of the ISE cluster (waiting for activation).
-
Return to the Cisco DNA Portal tab and the Cisco Security Cloud application.
-
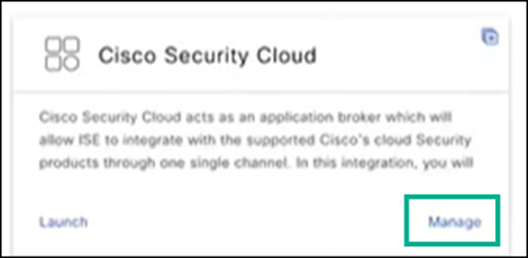
On the Cisco Security Cloud tile, click Manage.
-
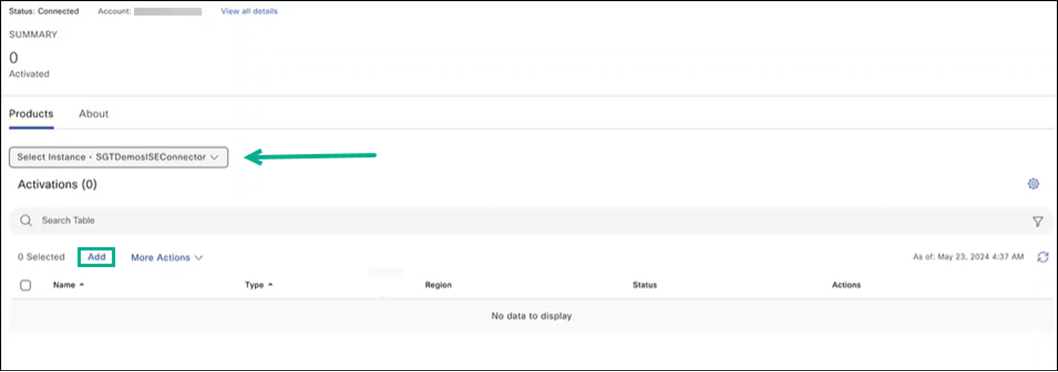
Choose Add and select the ISE application instance.
-
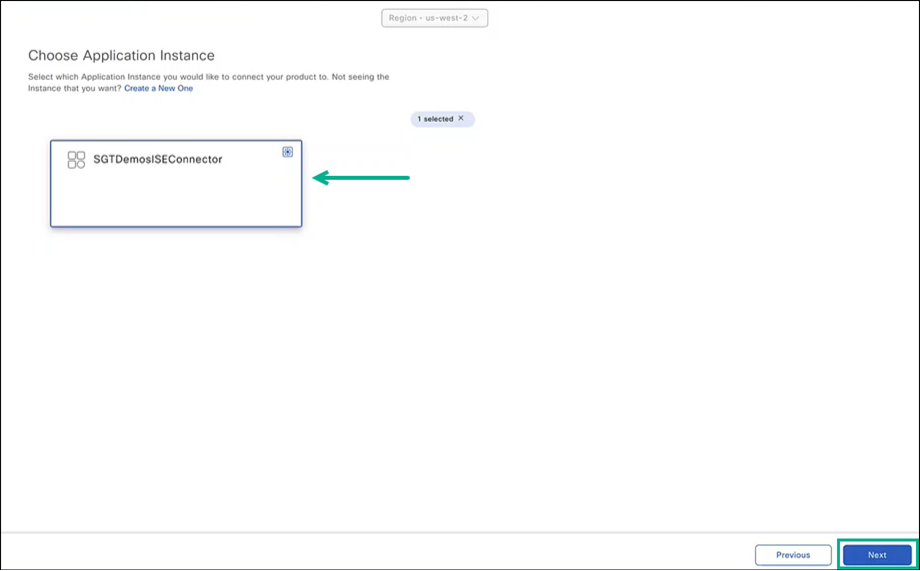
Choose the application instance that will be associated with your subscription, then click Next.
-
Choose the product for which you want to associate the application. In this example choose Cisco ISE, then click Next.

-
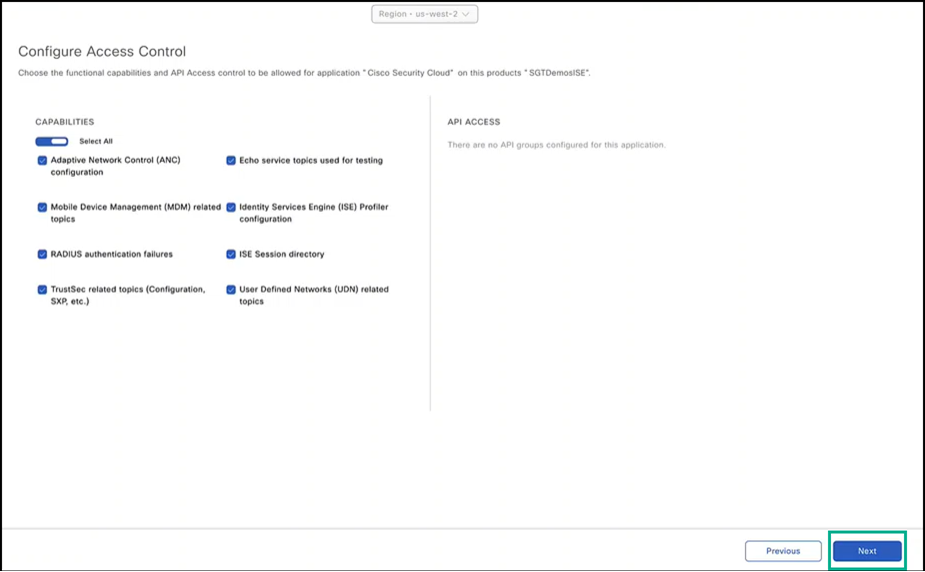
Choose capabilities and API access for the application and click Next.
-
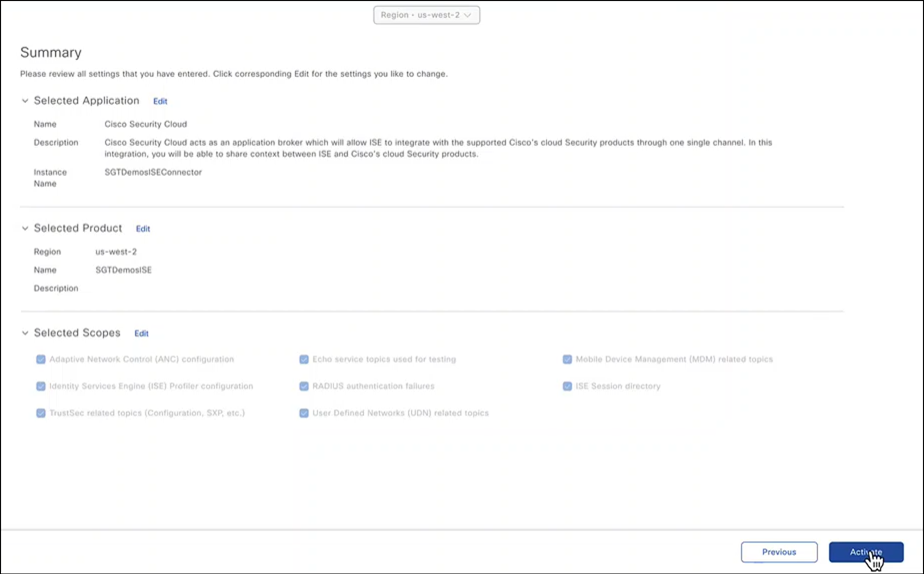
Review the application summary. You can click Edit to make any changes. Click Activate to complete the setup.

-
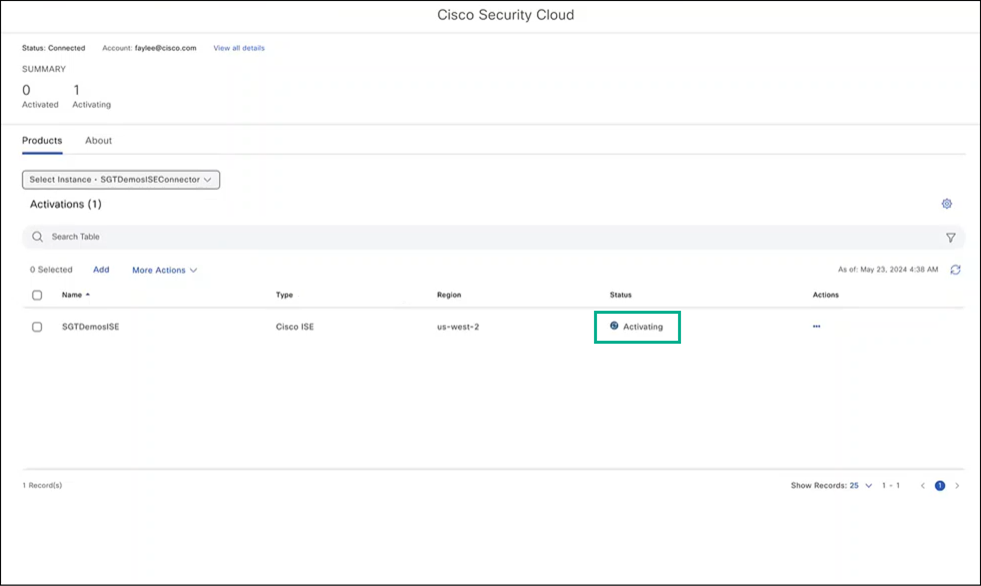
Monitor the Cisco Security Cloud dashboard to view the status.
-
Once the instance is active in Cisco Security Cloud, it should sync to Cisco Secure Access. You can switch between the tabs to view the state of the sync.


