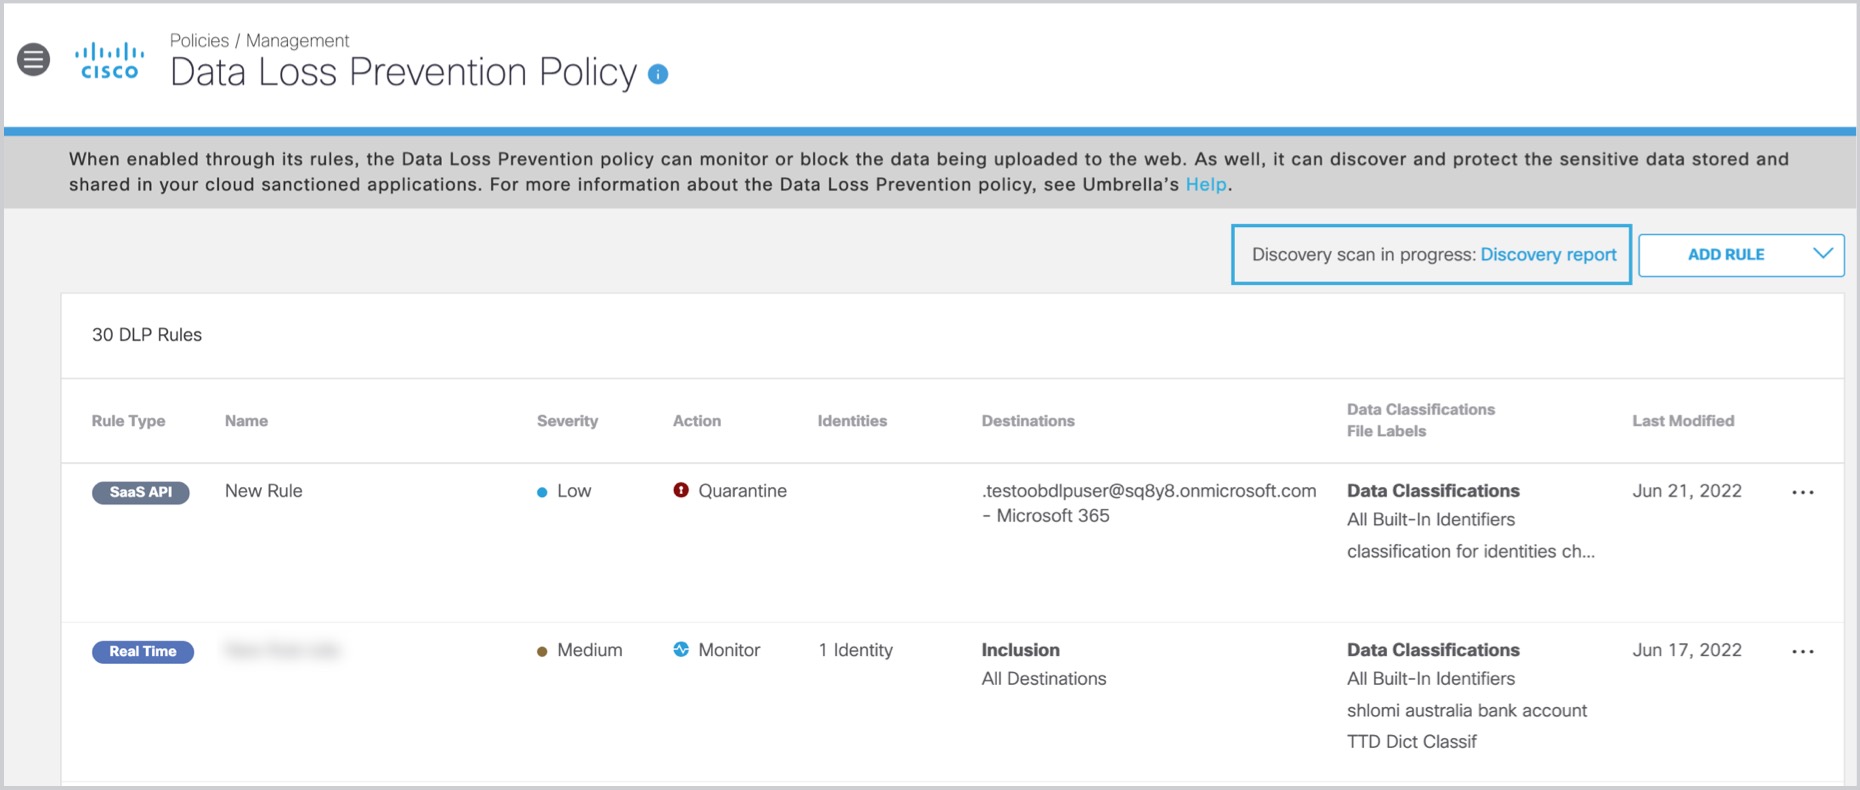
Initiate a Discovery Scan
- Navigate to .
- Click Discovery Scan.

- Enter the Scan Details. Choose a platform and tenant of the platform from the
drop-down lists.

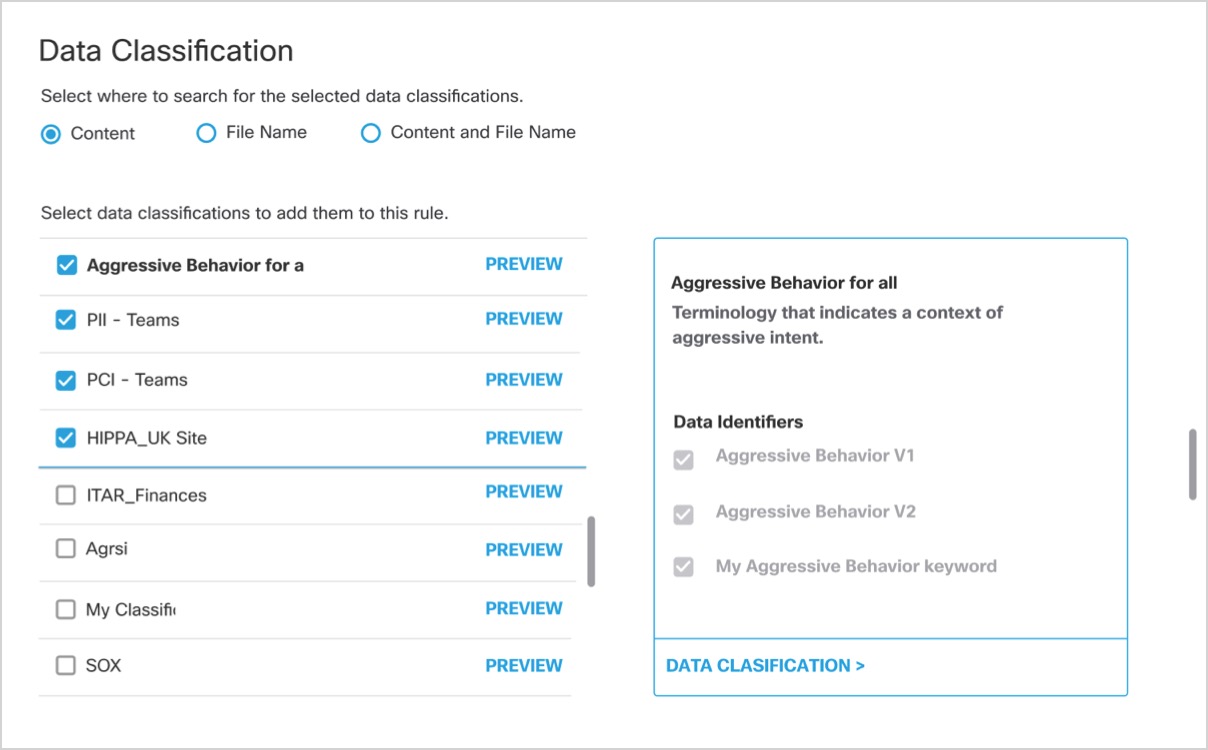
- Select where in uploaded files you would like the scan to search for the data
classifications that you choose.
-
Content—(Default) Searches only the content of files for the selected data classifications.
-
File Name—Searches only file names for the selected data classifications.
-
Content and File Name—Searches content and file names for the selected data classifications. Both content and file name do not need to match for the scan to apply, only one or the other.

Choosing Content, File Name, or Content and File Name refers to scanning file uploads for the selected data classifications and configured file labels. -
- Select the required Data Classification of your choice. You can select multiple
tenants.
- Enter the Date Range to define the scanning scope. Note that only files modified in the
selected date range are scanned.
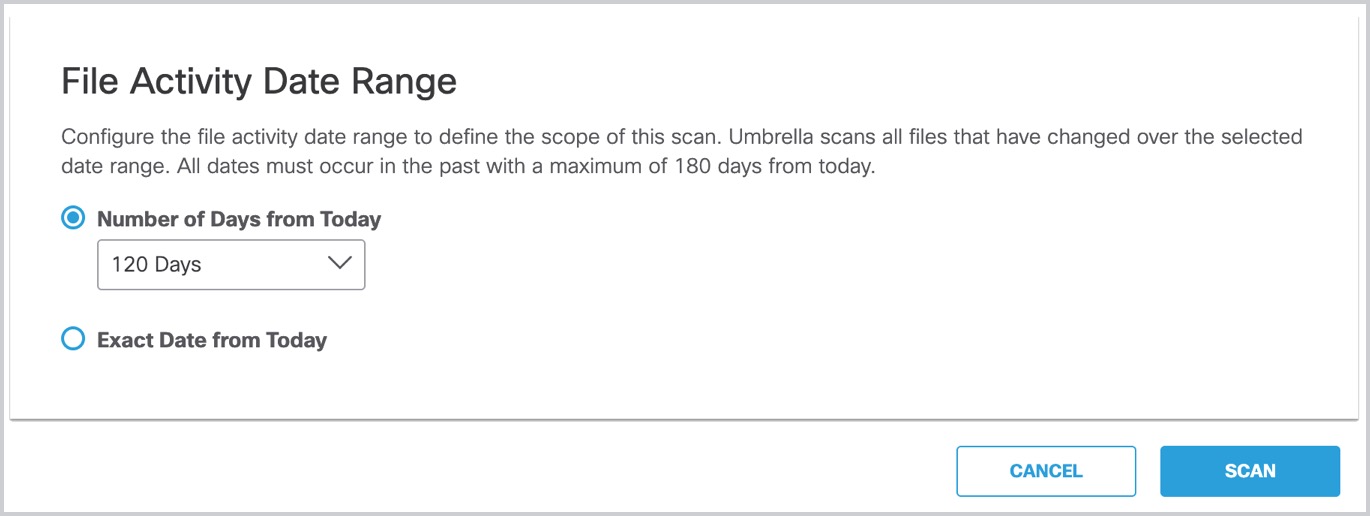
- Click Scan to initiate.
- Click Continue and Scan.
Only one scan executes at a time. The scan might take a while. Once completed, you can initiate another scan.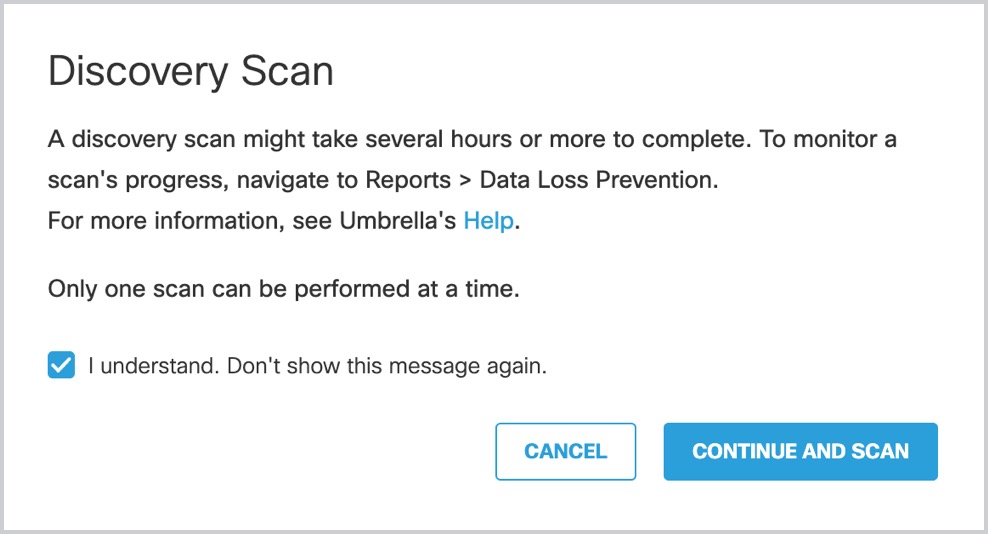
- Click Discovery Report to view the progress of the scan results.
For more information on DLP reports, refer to DLP Report.