Add a DNS Server
Add an IP address or address range for a DNS server. Your DNS traffic routes through the DNS servers managed by Secure Access.
-
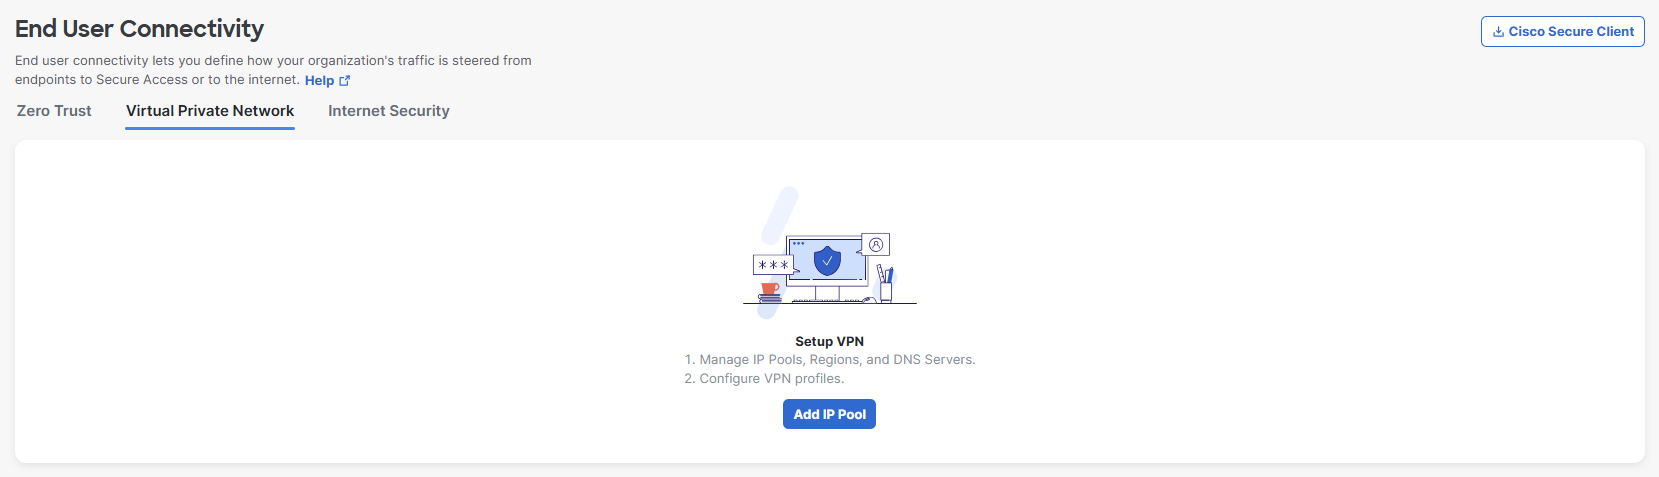
Navigate to Connect > End User Connectivity > Virtual Private Network and click Add IP Pool.
-
Click Add IP Pool.
-
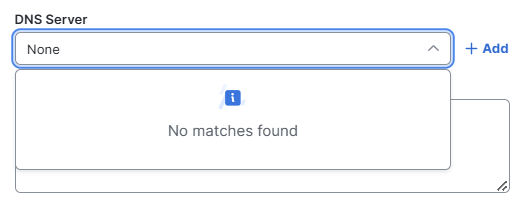
Enter the IP pool parameters, including the required DNS Server. During the initial deployment before any IP pools have been configured, there is no DNS configuration. You must provide a valid DNS server.
-
Click + Add to add the initial DNS server configuration.
- Enter a label for the DNS server in the Name field.
- For DNS Server 1 provide the IP address of the primary DNS server. Optionally, if you have a secondary DNS server, add an IP address for DNS Server 2.
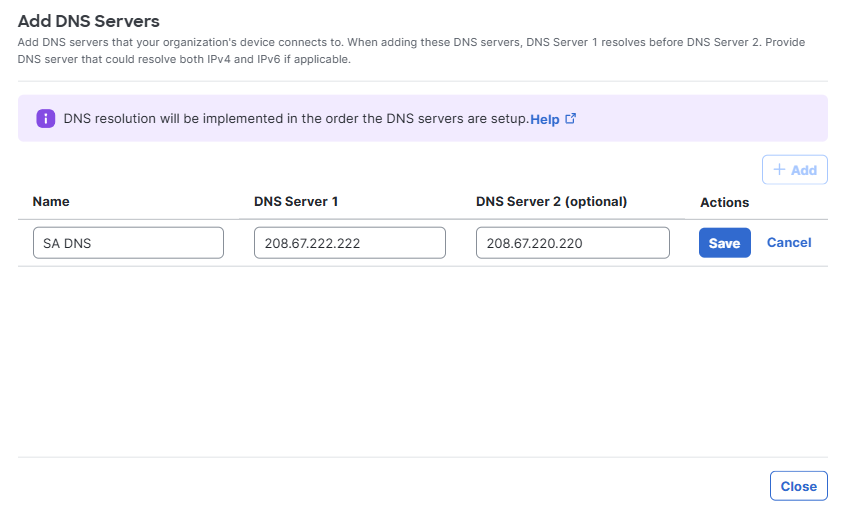
- Click Save and then click Close.


