Upload Secure Client Scripts
This topic describes how to upload and manage the scripts that will run when Secure Client scripting is enabled.
-
Navigate to Connect > End User Connectivity > Virtual Private Network.
-
In the VPN Profiles page, click Settings and choose Secure Client Scripts from the Settings drop-down.
-
Click Upload Scripts.
-
Under Operating Systems, select the operating systems on which these uploaded Secure Client scripts files will run. Supported options are:
- Windows
- macOS (Only macOS devices with Intel chips are compatible)
- Linux-64

You can select any or all options.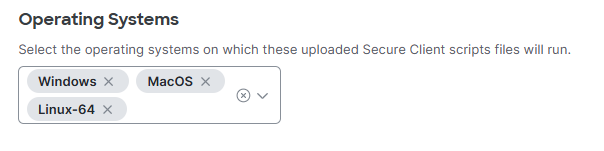
-
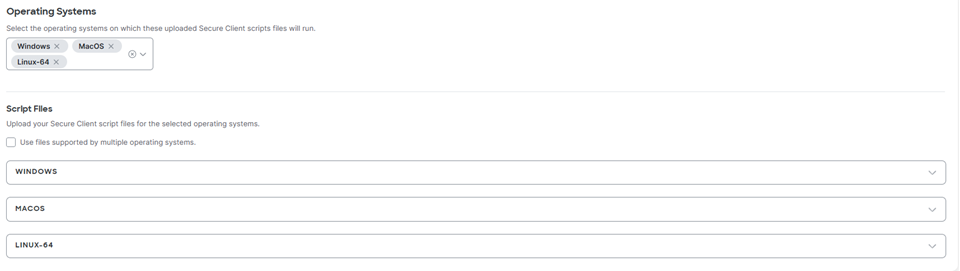
Under Script Files, upload your Secure Client script files for the selected operating systems.
-
For a selected operating system, Windows for example, expand the applicable operating system pane and click Upload Scripts.
-
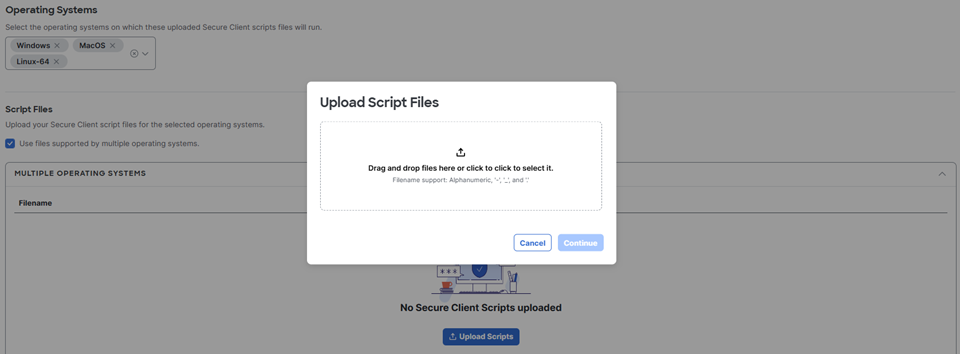
In the Upload Script Files modal, you can drag and drop files there, or you can click to browse to a file location to select it.

-
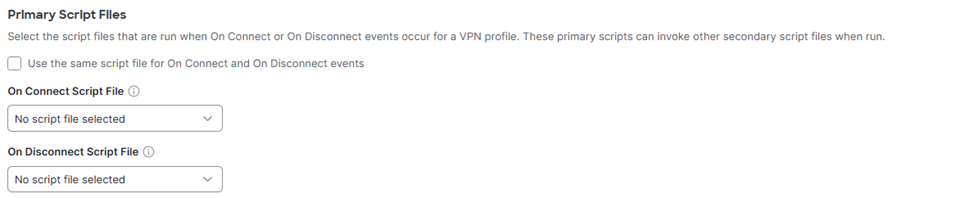
Optionally, you can designate a script as a primary file to run when On Connect or On Disconnect events occur. A primary script runs for a selected action and operating system. A primary script can be written to invoke more scripts.
-
Check Use the same script file for On Connect and On Disconnect events to simplify script selection.
-
Alternately, select a script for On Connect Script File and/or On Disconnect Script File.
-
-
For multiple operating systems:
-
Select the operating systems on which scripts will run, then expand each operating system to upload scripts for that OS.
-
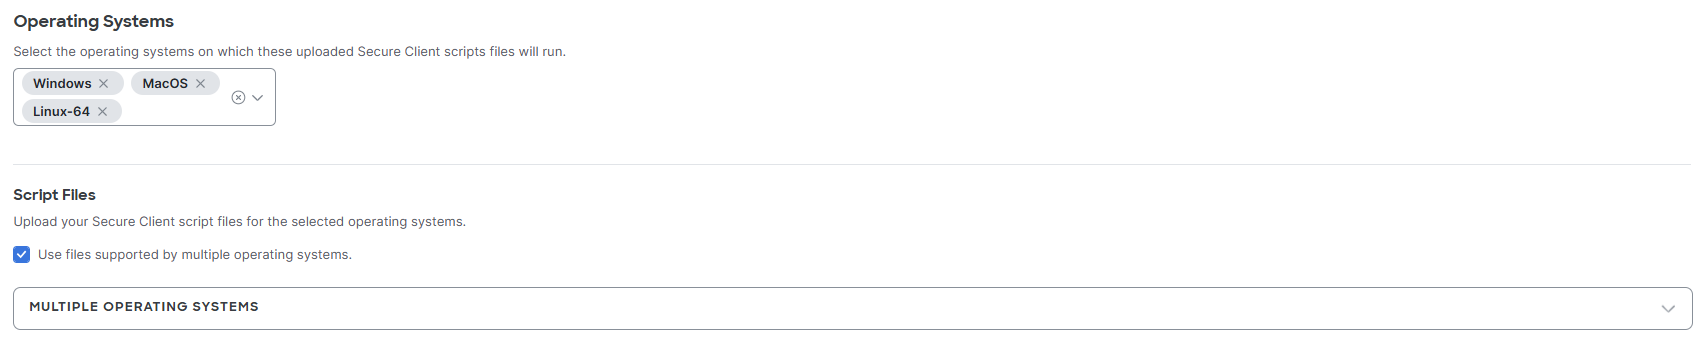
To use scripts that support multiple operating systems, check Use files supported by multiple operating systems, expand the multiple operating systems pane, and click Upload Scripts.
-
In the Upload Script Files modal, you can drag and drop files there, or you can click to browse to a file location to select it.
-
-
Click Continue to upload the scripts.
-
-
Click Save when you are finished to return to the listing page.


