Procedure
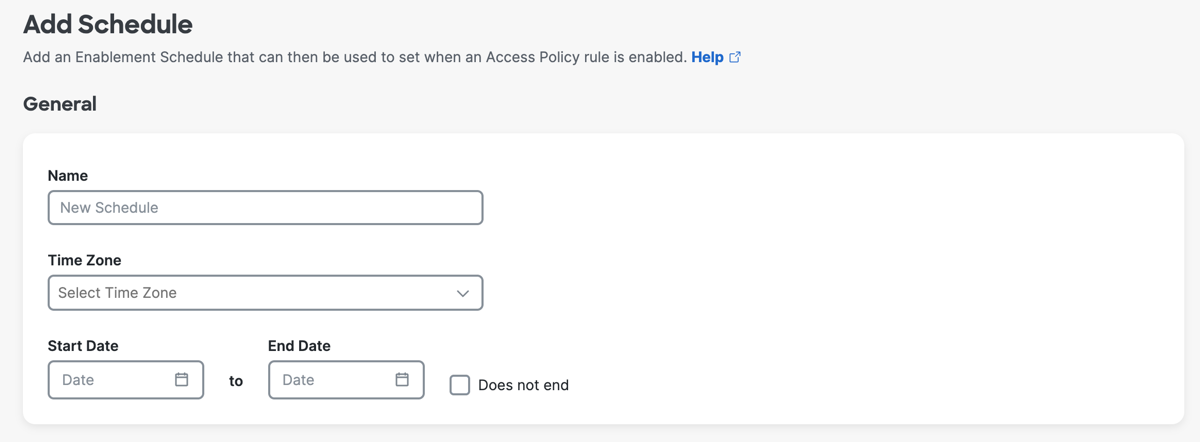
Configure the Schedule with the time zone, start and end dates, and days of the week with the time period for each day.
-
Navigate to .
-
Click Add Schedule.

-
Navigate to General.
-
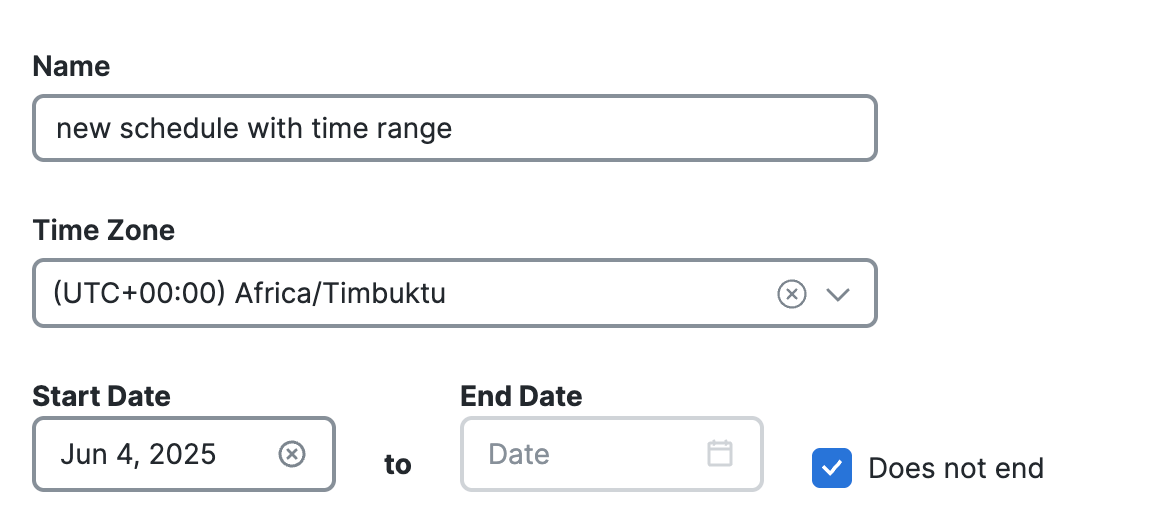
(Required) For Name, enter a unique name for the Schedule.
-
(Required) For Time Zone, choose the time zone that Secure Access will apply to the date and time configured in the Schedule.
-
(Required) For Start Date, choose the date when Secure Access will enable the internet access rule.
-
(Required) For End Date, choose the date when Secure Access will disable the internet access rule, or click Does not end to indicate that the Schedule does not expire and the access rule will remain enabled indefinitely.
-
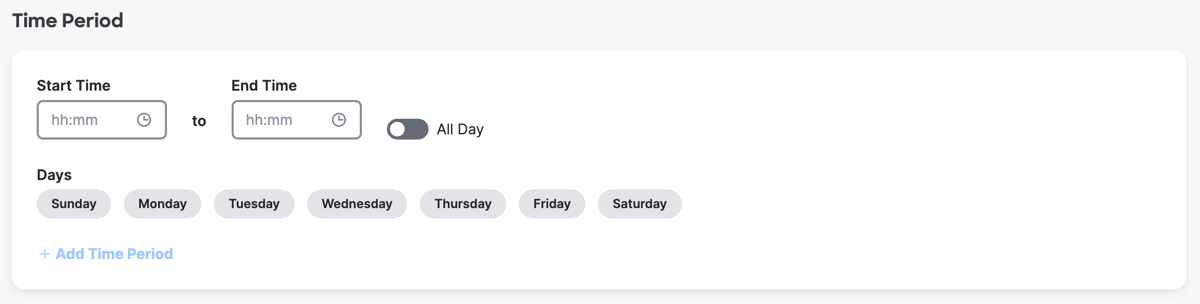
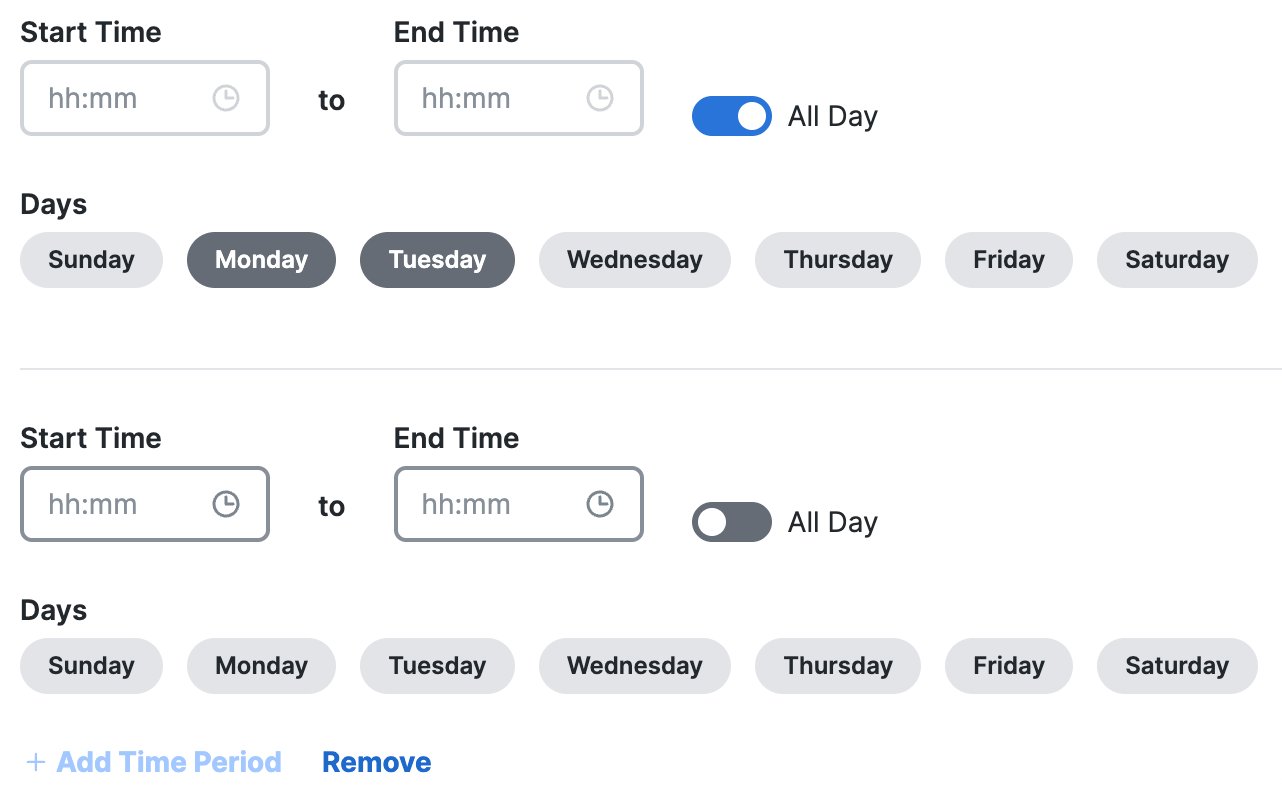
Navigate to Time Period.
-
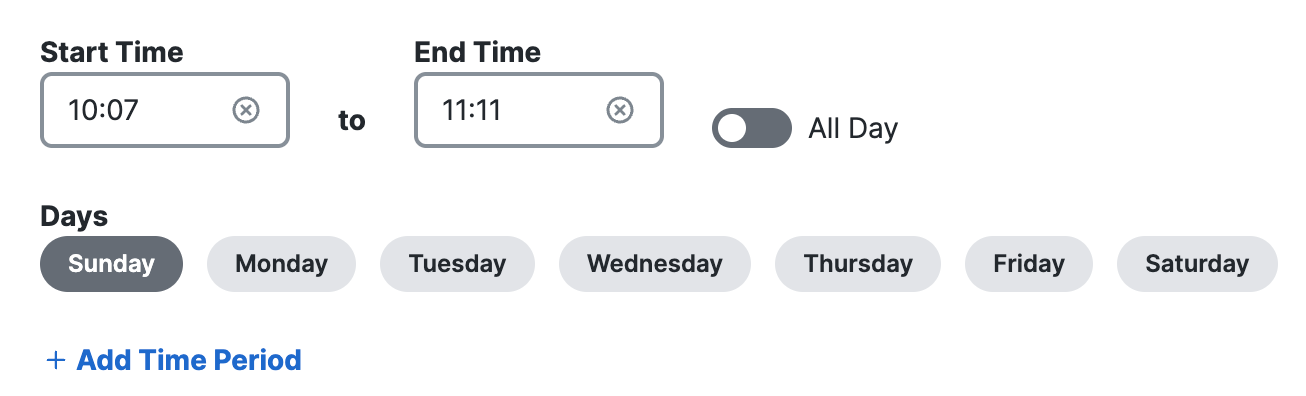
Choose the time of day for the schedule or enable All Day.a. (Required) For Start Time, choose the hour, minute, and AM or PM for the 24-hour time period when Secure Access will enable the internet access rule, and then click OK
-

- Required) For End Time, choose the hour, minute, and AM or PM for the 24-hour time period when Secure Access will disable the internet access rule, and then click OK.
-
-
(Required) For Days, click on the days of the week when Secure Access will enable the internet access rule.
-
(Optional) Click Add Time Period to create another time period for the Schedule. (Optional) Repeat Steps 8–10 to add another time period to the Schedule.
-
(Optional) Click Remove to delete a configured time period.
-
Click Save.


