Step 2 – Launch the Virtual Appliance on Amazon Web Services
|
|
Before performing this task, you must complete the one-time task of preparing the virtual appliance image on AWS.
|
|
|
Nitro based instance types and instance types that enable the Elastic Networking Adapter (ENA) are currently not supported. Refer to AWS documentation to determine if the instance type is Nitro based or uses ENA.
|
-
Use the AWS console to launch Secure Access VA instances in AWS using the VA image you created in Step 1. Prepare the Virtual Appliance Image on Amazon Web Services. Choose a VM size with at least 1 VCPU and 1 GB RAM.

Specifying a public IP address for the VA is a security risk and is not a supported configuration.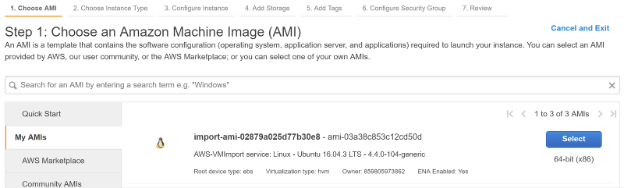
-
In Secure Access, navigate toConnectors > DNS Forwarders.
You should see the VA listed here with the dynamic IP address as its name.
You can now configure the VA. For more information and the procedure, see Enter Configuration Mode on a VA Deployed in Azure, AWS, or Google Cloud Platform.

Route 53 Resolver can also be used to apply network-level protection to your AWS workloads. See How to Point AWS to Umbrella with New Route 53 Feature for more information. -
For a VA deployed on AWS, in addition to configuring the IP of the VA via the VA command line, you will also need to assign this IP to the VA instance through the AWS console. If this IP is different from the DHCP IP assigned by AWS, you can add it as the secondary IP for the instance.
