Authorize a Tenant
- Navigate to Admin > Authentication.
- In the Platforms section, click ServiceNow.
- In the Cloud Malware subsection, click Authorize New Tenant to add a
ServiceNow tenant to your Secure Access environment.

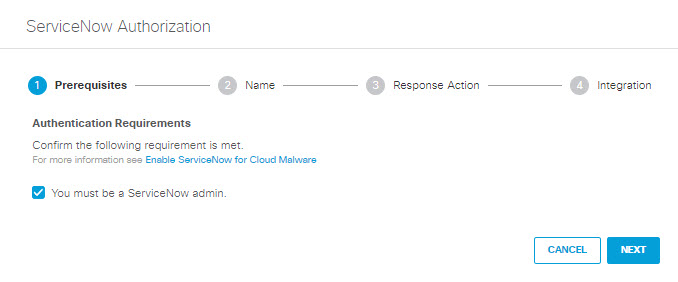
- In the ServiceNow Authorization dialog, check the checkbox to verify you meet the
prerequisite and then click Next.
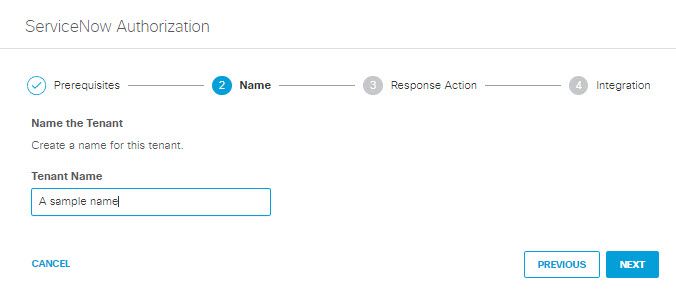
- Add a Tenant Name and then click Next.
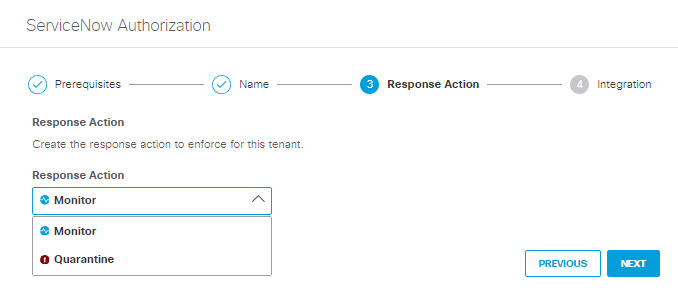
- Select a Response Action for Secure Access to apply to ServiceNow found with malware, then click Next.
-
Choose Monitor to cause Secure Access to log files detected with malware. You will be able to manually quarantine these files from the Cloud Malware report.
-
Choose Quarantine to:
-
Move the file into a table named Cisco_Quarantine_Malware which can be access only by the admin user who authorized the ServiceNow tenant.
-
Attach a footprint to the notes\activities area of the table the file is attached to. This footprint will notify users that the file has been identified as malware, and for more information they should contact their administrator.
-
-
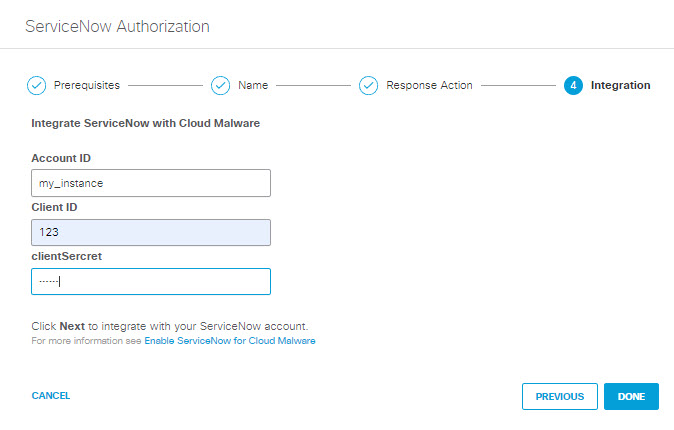
- Enter the following and then click Done:
-
Account ID: Enter the Instance Name for your ServiceNow account.
-
Client ID: Enter the Name you supplied in Step 3 of Add an OAuth Client to Your ServiceNow Deployment.
-
Client Secret: Enter the Client Secret you supplied in Step 3 of Add an OAuth Client to Your ServiceNow Deployment.
Save this information in a reliable location, as you will need it any time you change the Response Action for the tenant in the future. -
- You are redirected to the ServiceNow OAuth login page and a message will appear notifying you that secure-access-oauth would like to connect to your ServiceNow account. Click Allow.
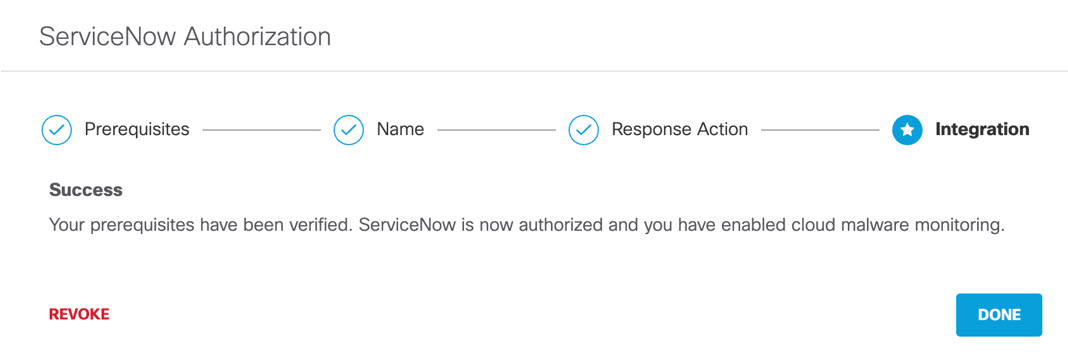
- You are redirected to Secure Access and a message appears showing the integration was successful. It may be up to 24 hours for the integration to be confirmed and appear as Authorized. Click Done.
