Step 2 – Import the Virtual Appliance
|
|
Using Windows 2012 R2 or Higher Versions
Microsoft has introduced a "Generation 2" style of VM profile on Hyper-V for Windows 2012 R2 and higher versions. As a result, the import steps below will fail with the error: "Hyper-V did not find virtual machines to import from location [path]" You will need to create a new virtual machine as "Generation 1", then skip to 3. Copy and Rename Image Files. For more information about Generation 1 vs. Generation 2, see Generation 2 Virtual Machine Overview. |
|
|
Step 2 in this procedure applies to Windows 2012 only, and not Windows 2012 R2
.
|
-
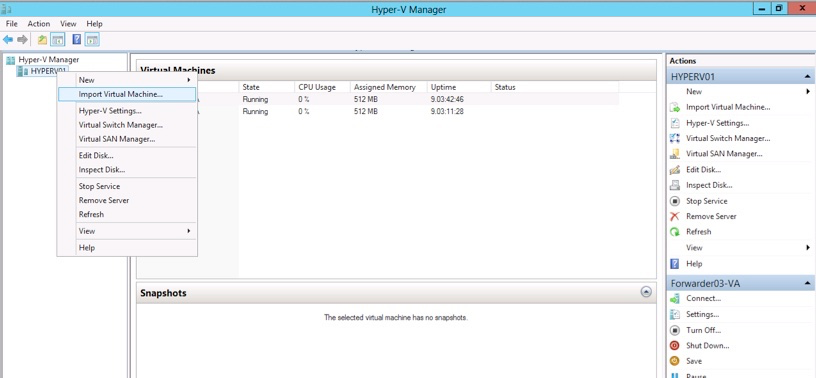
Select your Hyper-V server, right-click its name and select Import Virtual Machine from the menu.
-
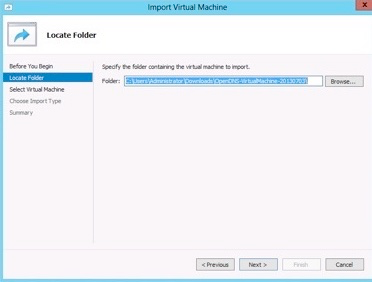
Navigate to the extraction folder from your download, select that folder to import, and then click Next.
-
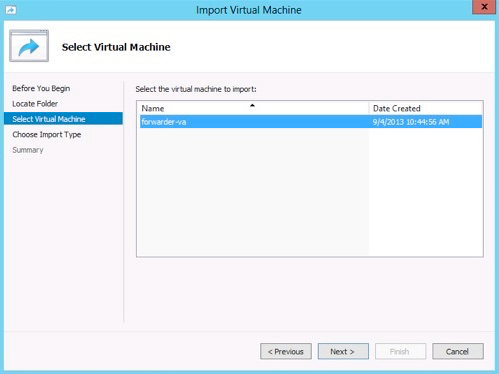
Select forwarder-va as the virtual machine to import and click Next.
-
Select Copy the virtual machine (create a new unique ID) and click Next.

-
Choose destination folders to install to. By default, these are the Hyper-V Configuration folders, but you can choose another folder.
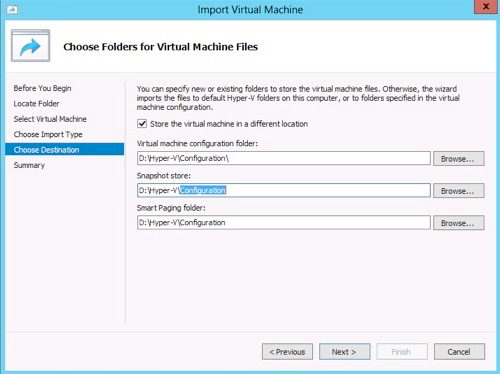

If selecting a different folder, pick a drive with sufficient space and create a folder with a specific name for the virtual machine, such as \opendnsforwarder-1. This can be helpful to ensure you're able to distinguish between the two virtual appliances in your file structure. -
Click Finish.


