Add and Publish the Cisco Secure Client Application
Procedure
| 1 |
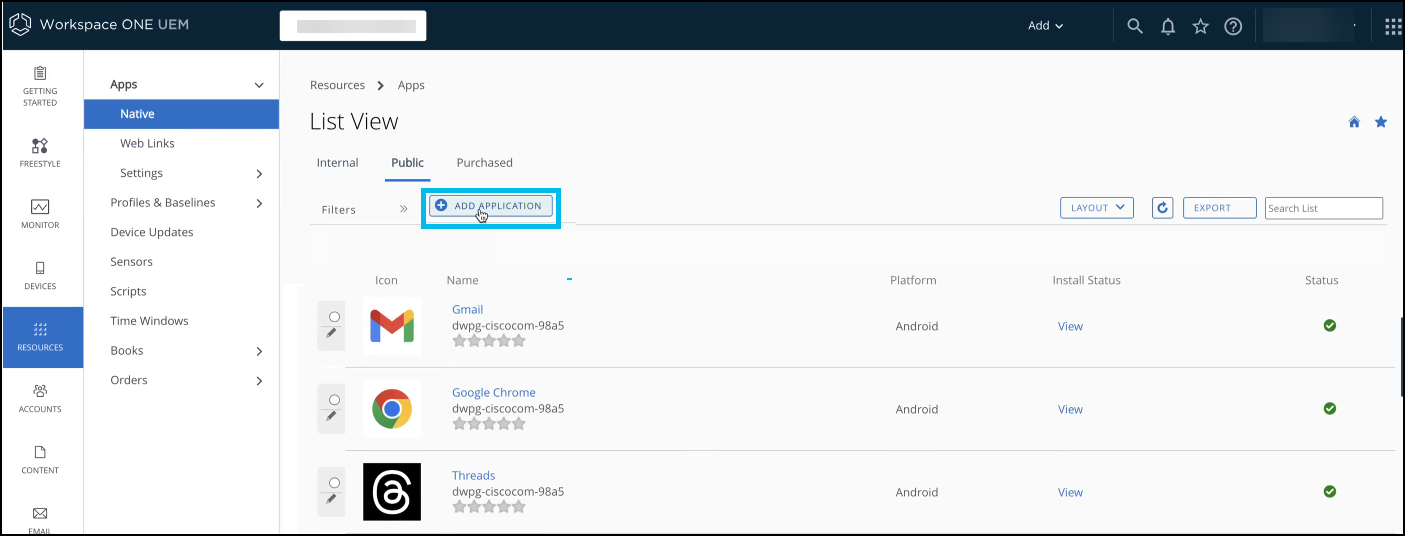
In the Workspace ONE UEM console, navigate to . |
| 2 |
Click Add Application.
|
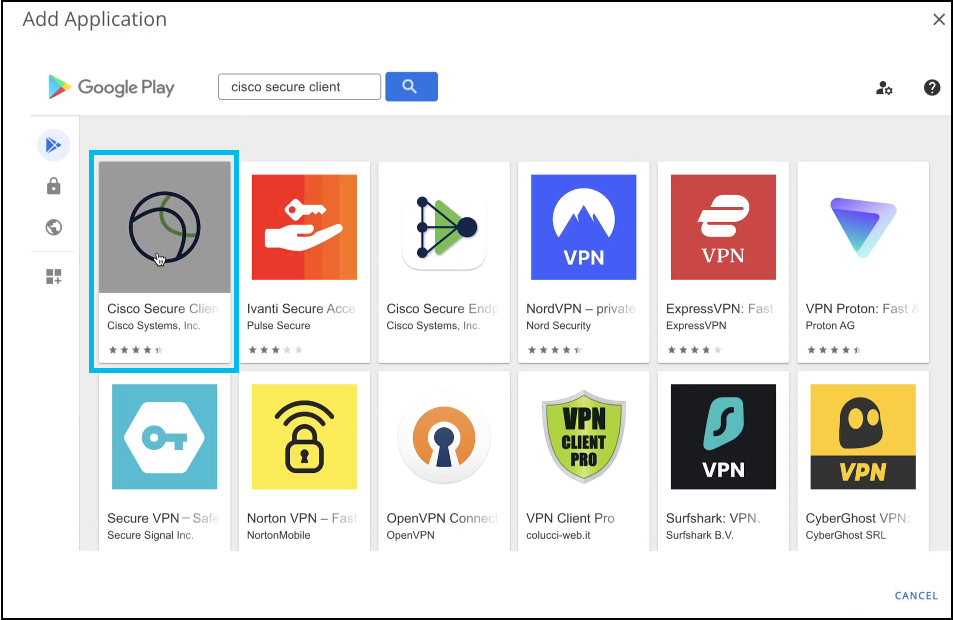
| 3 |
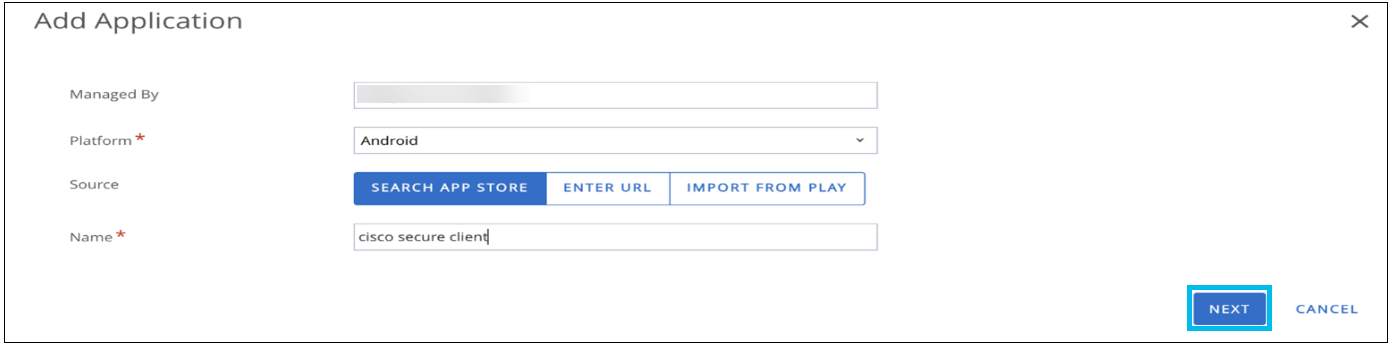
In the Google Play store, click the Cisco Secure Client AnyConnect application. |
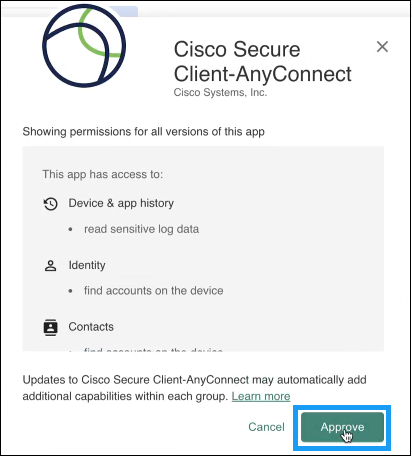
| 4 |
Click Approve to accept the permission for all versions of the application. |
| 5 |
Click Done to handle the new app permission requests. |
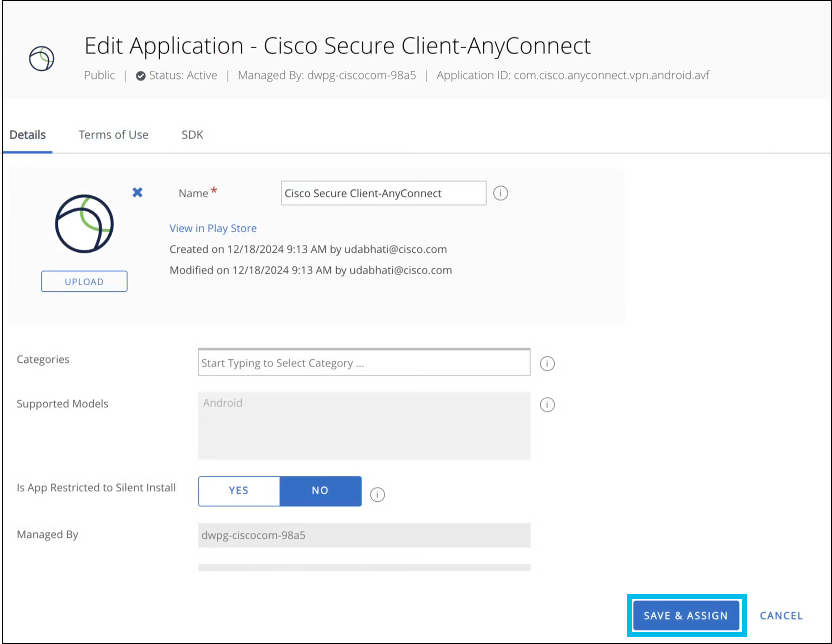
| 6 |
Now, click Save & Assign. The Cisco Secure Client-AnyConnect Assignment Wizard appears: |
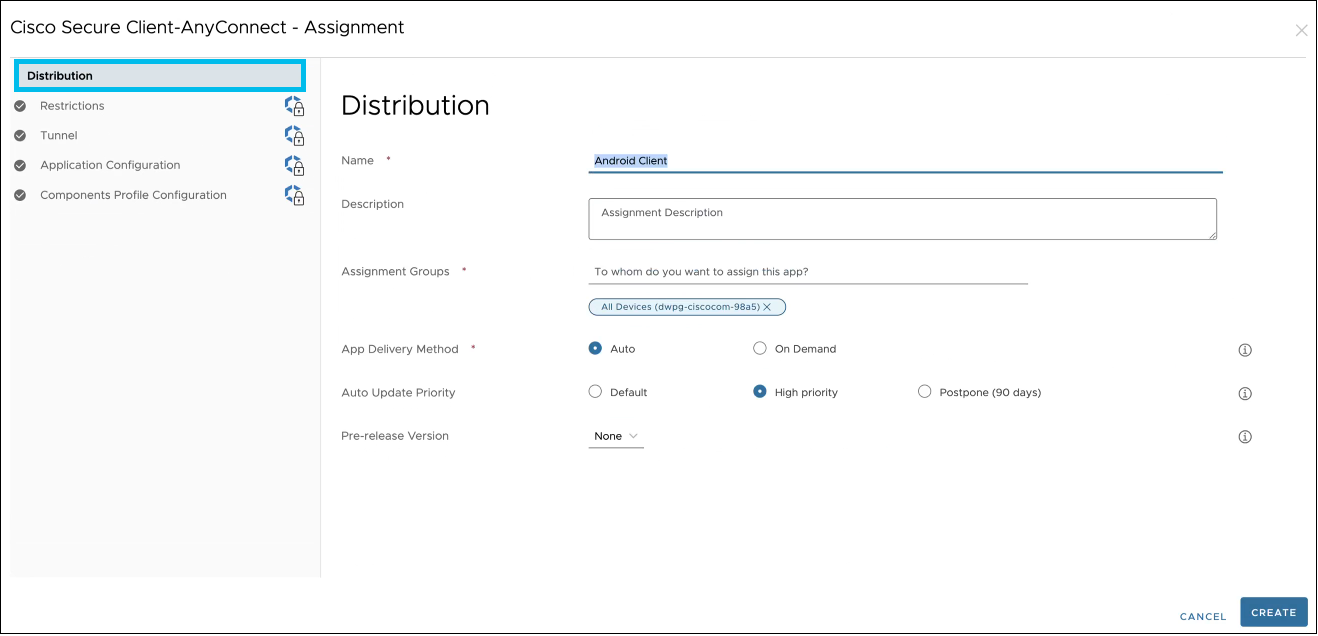
| 7 |
On the Distribution page, enter the necessary details to define how the application will be distributed. Click Restrictions. |
| 8 |
On the Restrictions page, enable the Managed Access button to allow only EMM managed devices to install the application. Click Tunnel. |
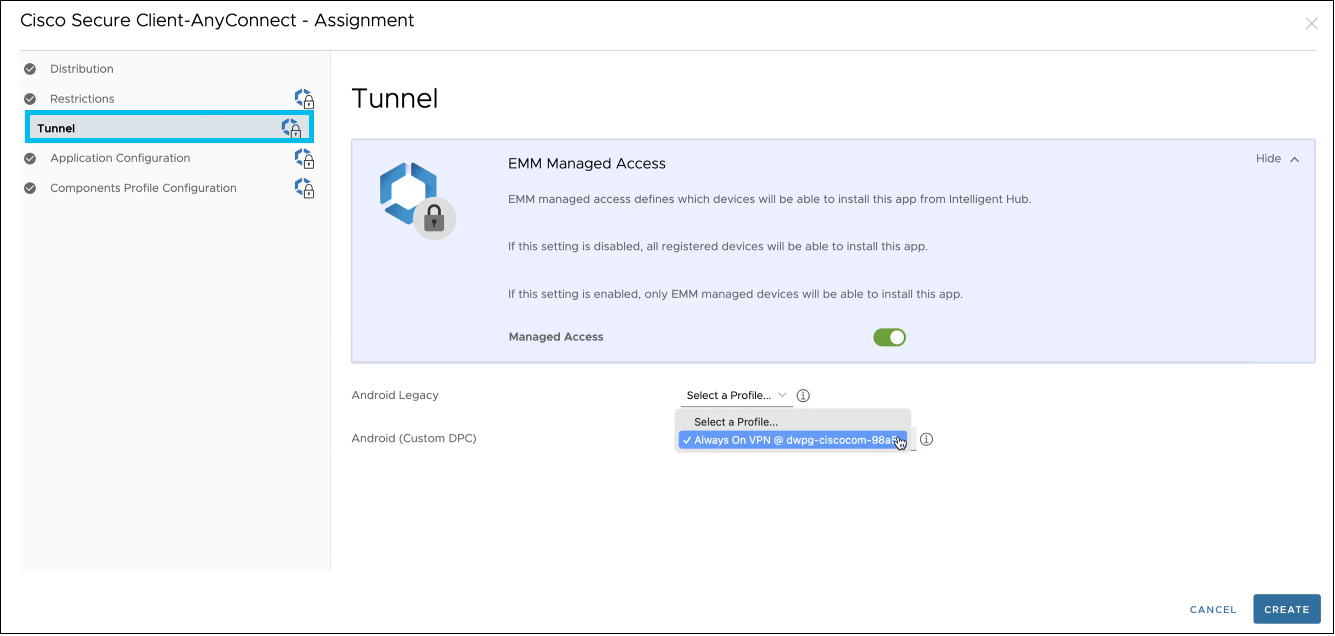
| 9 |
On the Tunnel page, from the Android (Custom DPC) drop-down list, choose the Always On VPN profile created in the Create Always On VPN Profile section. This enables the _Always On VPN _ profile for the managed devices. Click Application Configuration. The Application Configuration page appears. 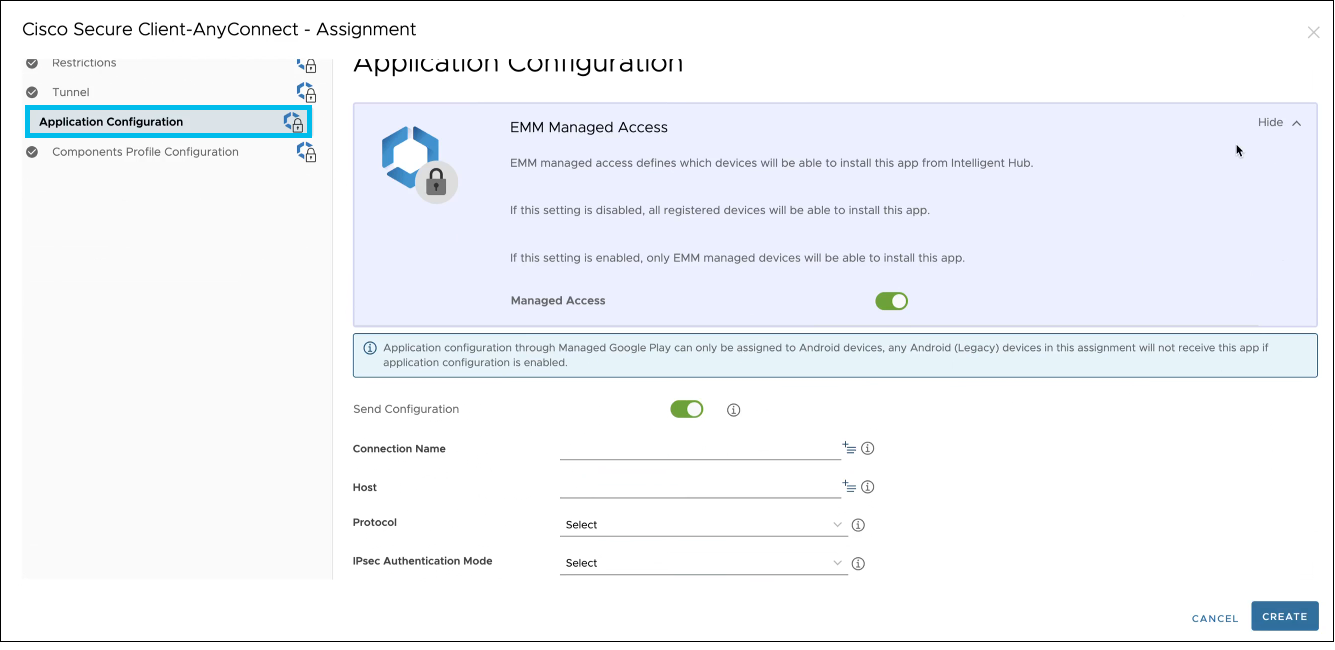
|
| 10 |
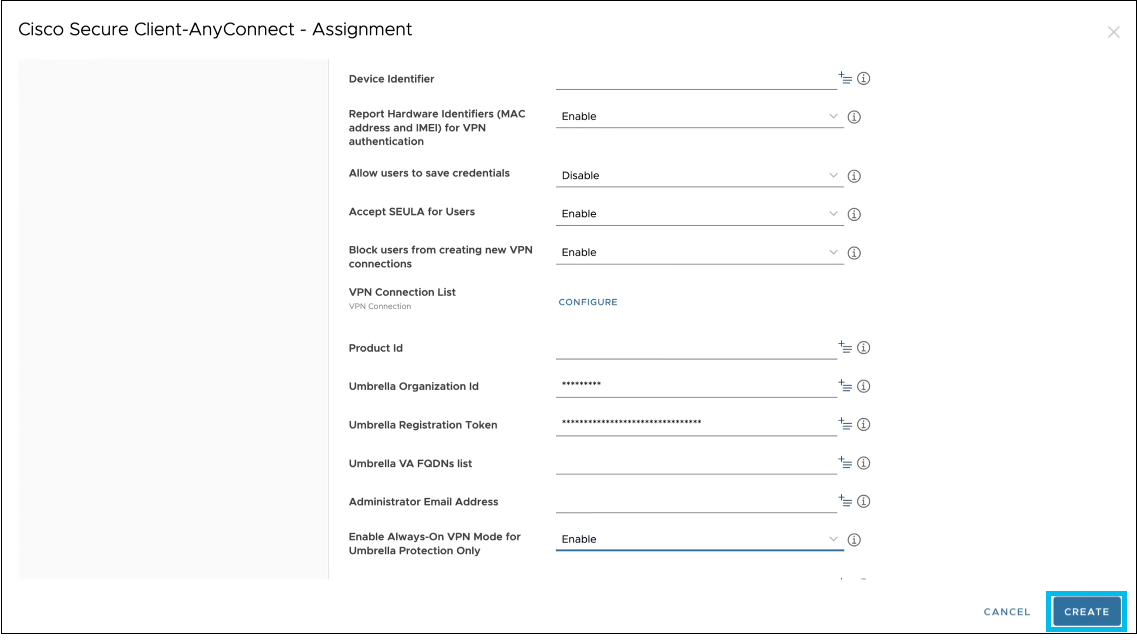
On the Application Configuration page, complete the fields, including the following:
|
| 11 |
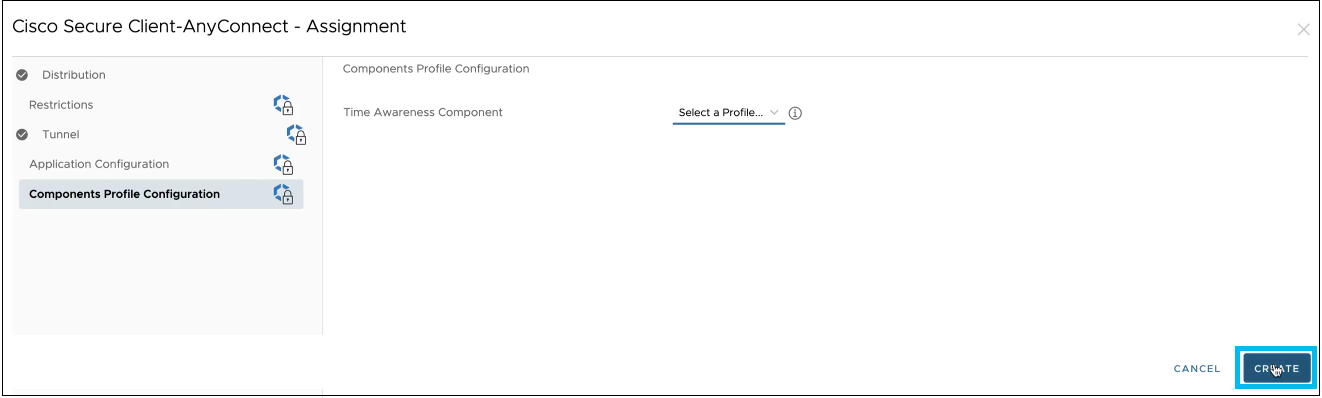
Click Components Profile Configuration. |
| 12 |
Click Create. The Cisco Secure Client-AnyConnect app assignment is created. |
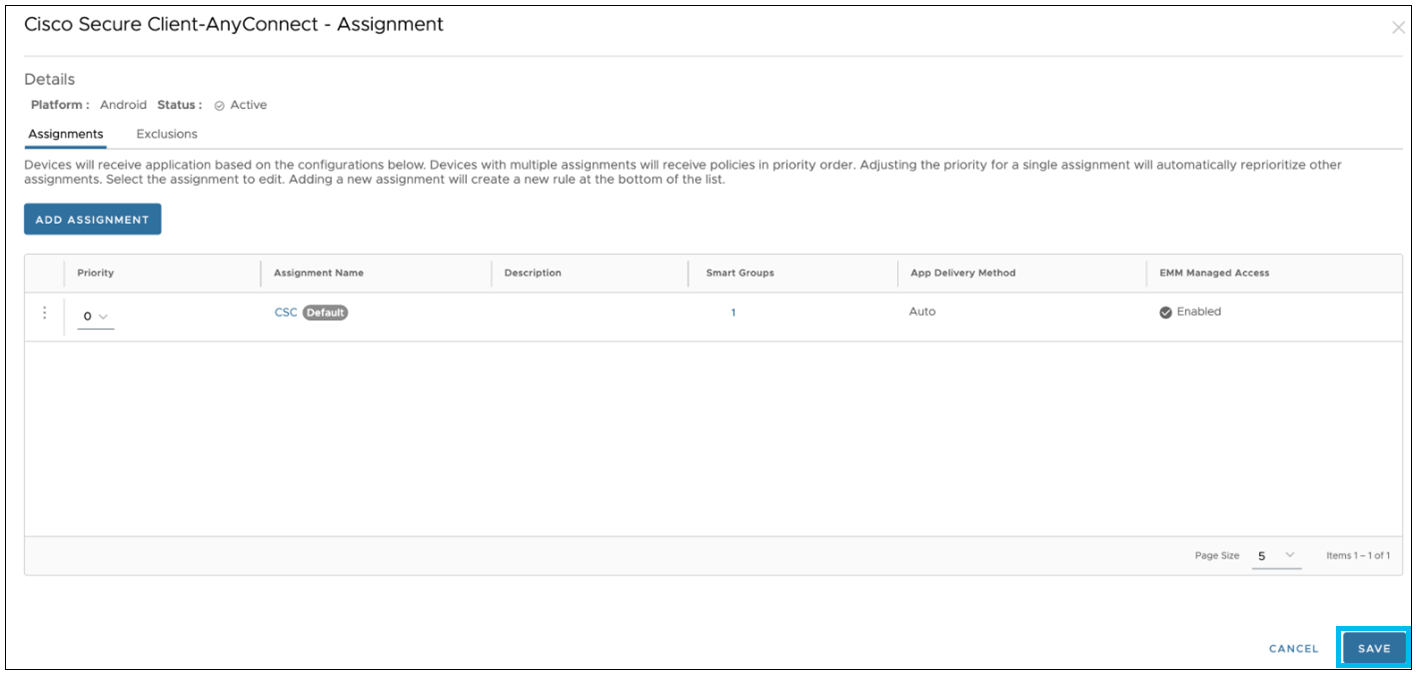
| 13 |
Click Save. |
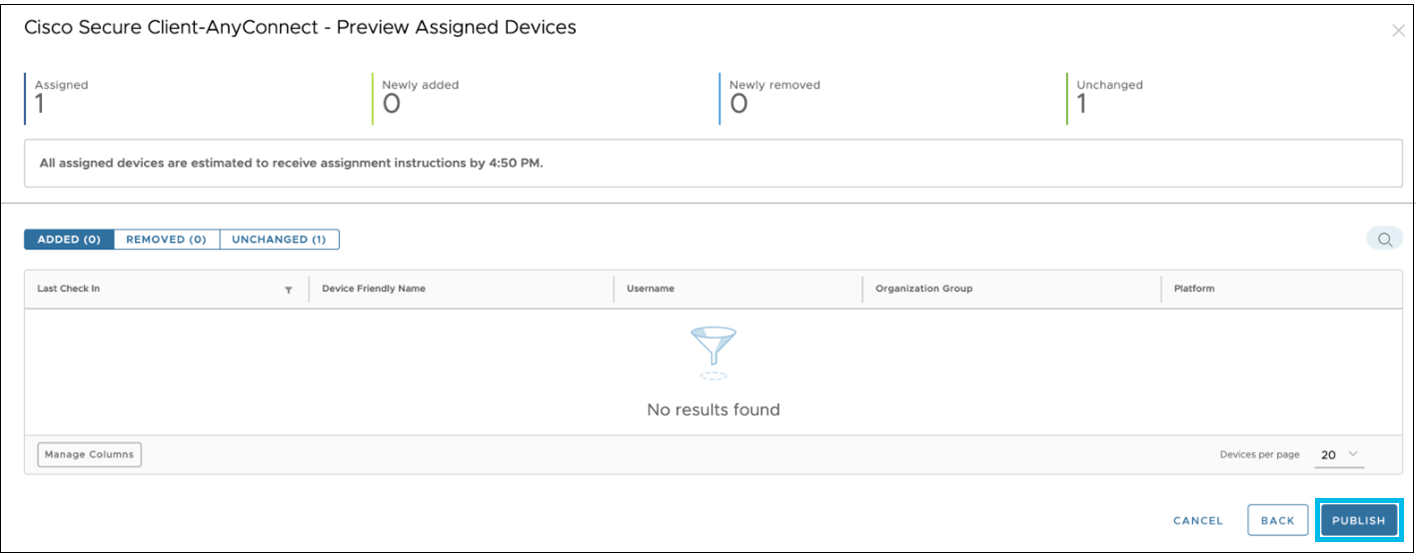
| 14 |
Click Publish to publish the Cisco Secure Client Application. |


What to do next
As the app delivery method is set to auto on the Distribution page the application gets installed automatically on the device and is displayed in both the console and your device.