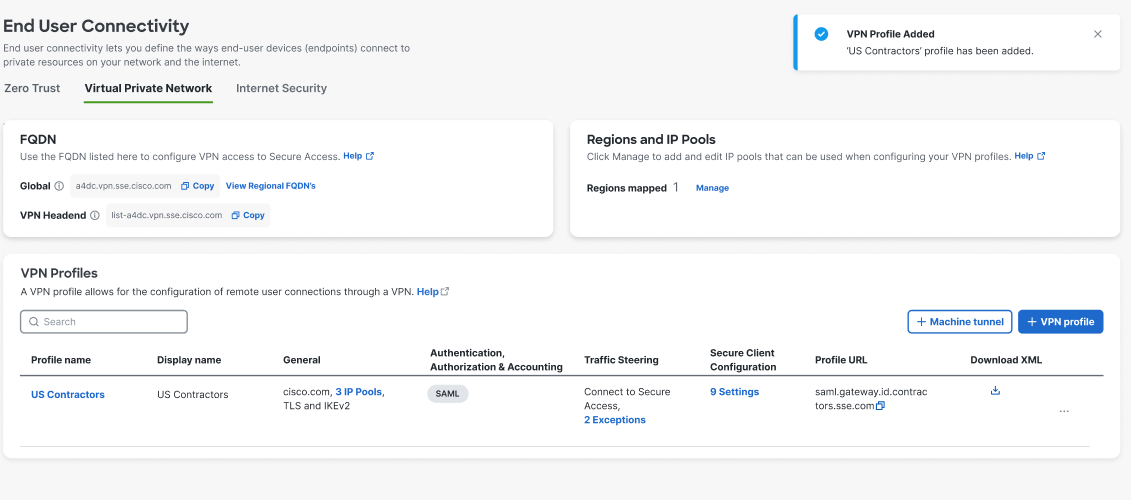
Step 4 – Cisco Secure Client Configuration
You can modify a subset of Cisco Secure Client settings based on the needs of a particular VPN profile.
-
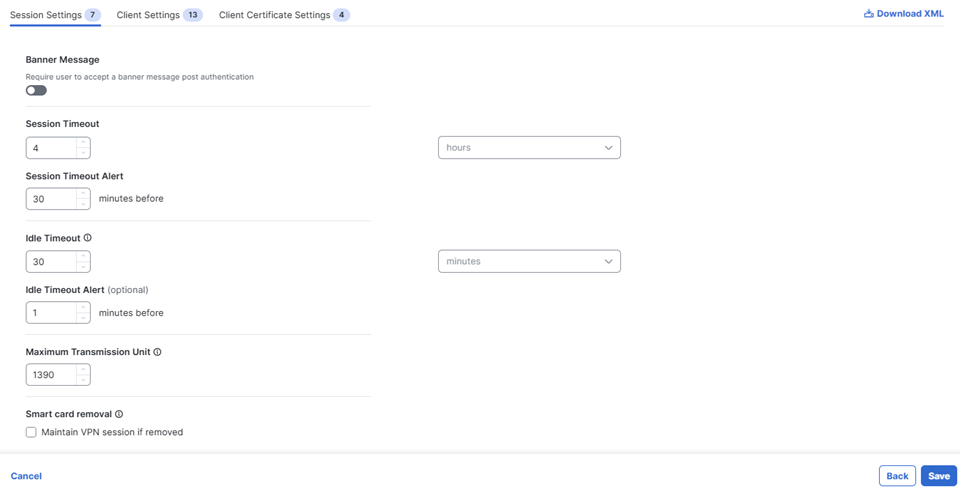
Click the Session Settings tab to modify session-specific settings:
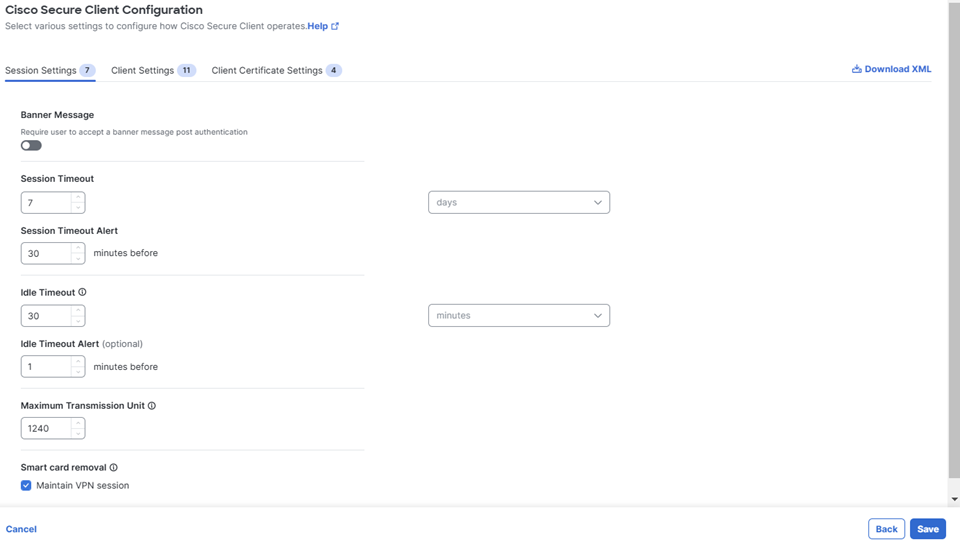
- Banner Message—Configure a banner message for the user to accept after Secure Client authentication.
- Session Timeout—Configure a time window after which the Secure Client session will end. The default is 4 hours.
- Session Timeout Alert—Configure the number of minutes before the session timeout to alert the user. The default is 30 minutes.
-
Idle Timeout — Configure a time window for an idle Secure Client session, after which the session will end.

This value affects the Disconnected Timeout configuration in your Cisco AnyConnect settings; which determines when AnyConnect/Secure Client ceases reconnect attempts since the session to the ASA has been interrupted.
- Idle Timeout Alert—Configure the number of minutes before the idle session timeout to alert the user. The default is 1 minute.
- Maximum Transmission Unit (MTU)—Configure the largest packet size that can be transmitted through the VPN tunnel before fragmentation. Accepts a value between 576 and 1390.
- Smart card removal—Check Maintain VPN session to continue the VPN connection in the event of a smart card removal. Otherwise the VPN connection is terminated when a smart card is removed.
-
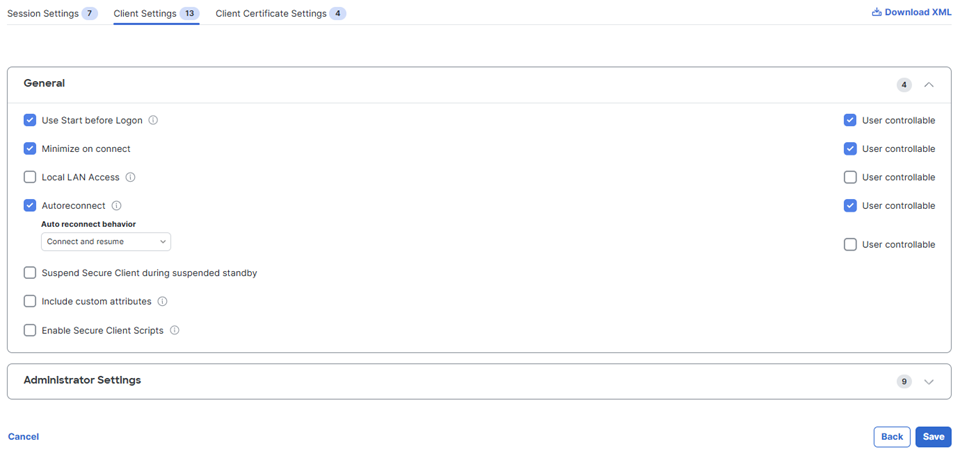
Click the Client Settings tab then click Edit to modify client-specific sessions. See The Cisco Secure Client Profile Editor for complete information about Cisco Secure Client settings.
-
Modify Session Settings as needed.
-
Modify Client Settings (General) as needed.
-
Configure a time window for an idle Secure Client session, after which the session will end. Note: This value affects the Disconnected Timeout configuration in your Cisco AnyConnect settings; which determines when AnyConnect/Secure Client ceases reconnect attempts since the session to the ASA has been interrupted. Modify Client Settings (Administrator) as needed.

To enable and configure the Always-On operation, which prevents access to Internet resources without a server certificate when the computer is not on a trusted network (unless a VPN session is active), check the Automatic VPN Policy option, then scroll down and check the Always on VPN option. Optionally,
-
-
Click Save.
-
Modify any Client Certificate Settings as needed.
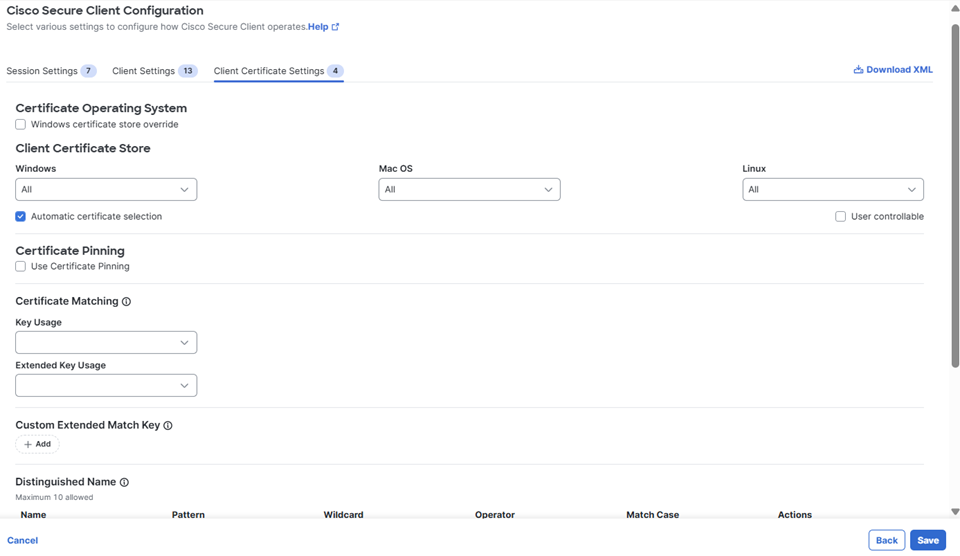
-
Click Save to complete the VPN Profile.