Procedure
Before you begin
Procedure
| 1 |
Navigate to and select the report you want to schedule. For a list of schedulable reports, see Report Scheduling. |
||||
| 2 |
Select filters for the report and then click Schedule. Filters are applied to the report and the Scheduling wizard opens. 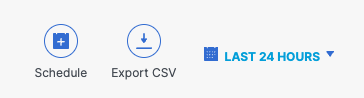
|
||||
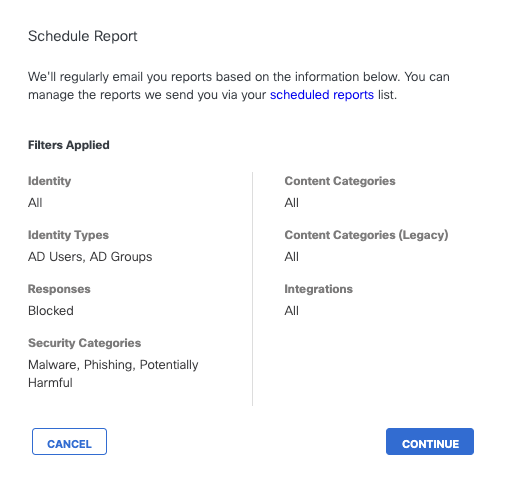
| 3 |
Review filters and click Continue . |
||||
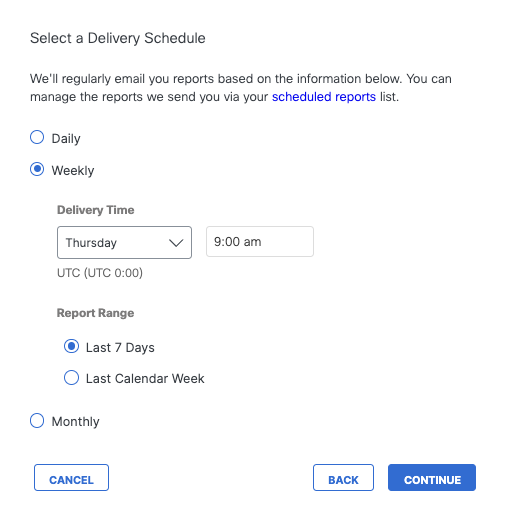
| 4 |
Select time parameters to set when and how often you want this report sent to recipients. Click Continue. For each time period, you can specify a time and range within that time period.
|
||||
| 5 |
Give your report a good descriptive name, add email addresses for recipients of this report, and click Save. Enter as many recipients as you like separating addresses with commas or semicolons. 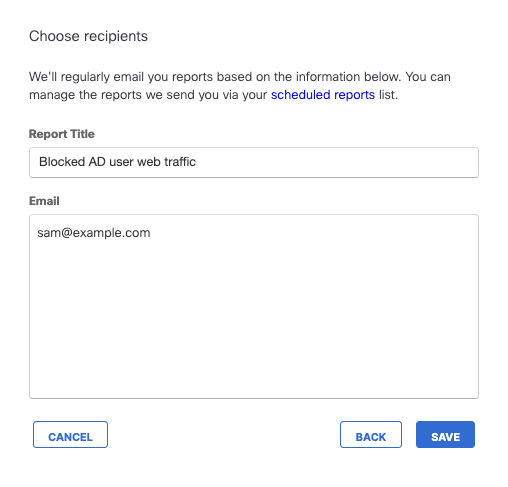
|
||||
| 6 |
Your newly scheduled report is listed at . You can update this schedule at any time. For more information, see Update a Scheduled Report. |