Step 1 – Prepare the Virtual Appliance Amazon Machine Image
|
|
This is a one-time task to create an Amazon Machine Image (AMI) that can be used to launch multiple VAs.
|
-
Navigate to Connectors and click Download Components.

-
Click Download for VA for Hyper-V.
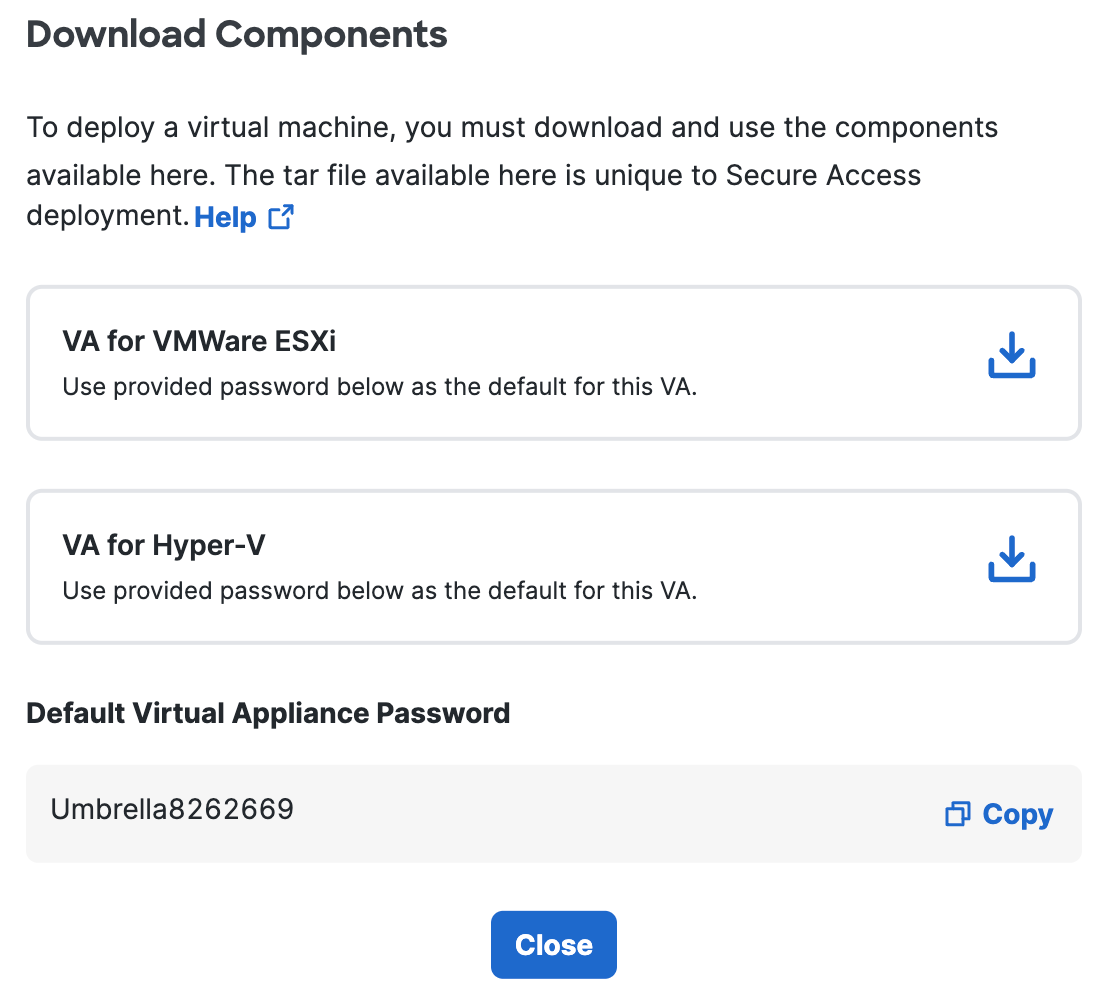
Secure Access generates and downloads a .tar file to your computer unique to your deployment.
This .tar file includes:
-
a .zip file containing the virtual hard disks that need to be deployed on AWS
-
a signature file
-
a Cisco public certificate to validate the signature
-
a readme file
-
-
Extract the contents of the tar file using the command
tar –xvf <tar filename> -C <Destination folder>.To verify the integrity of the downloaded file, validate the signature by following the instructions provided in the readme file. On successful signature validation, you see a message saying “Verified OK.“
-
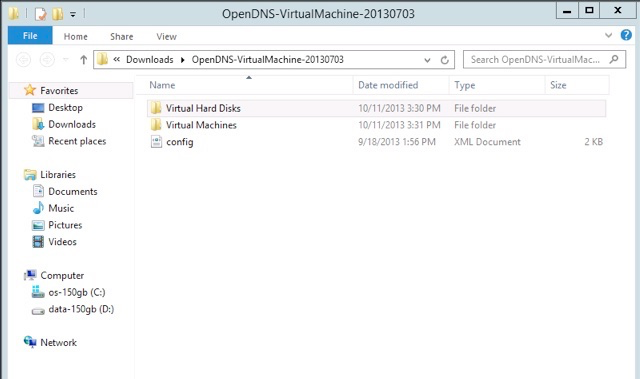
Extract the .zip file. You'll find two folders—Virtual Hard Disks and Virtual Machines—and a config file.
-
Follow the steps provided by AWS to (optionally) create an S3 bucket and to create the vmimport service role.
-
Upload the downloaded vhd files (forwarder-va.vhd and dynamic.vhd) to the S3 bucket.
This should be the same S3 bucket as specified in the role-policy.json file.
-
Use the AWS CLI to import the image.
Create a file locally named "containers.json" for importing the image. The following is an example of a containers.json file. Specify the S3 bucket where you have saved the vhd images in this file.
\[
  {
    "Description": "Forwarder",
    "Format": "vhd",
    "UserBucket": {
        "S3Bucket": "va-vhd-bucket",
        "S3Key": "forwarder-va.vhd"
    }
  },
  {
    "Description": "Dynamic",
    "Format": "vhd",
    "UserBucket": {
        "S3Bucket": "va-vhd-bucket",
        "S3Key": "dynamic.vhd"
    }
  }
\]
You must use the .vhd files to create the Amazon Machine Image and not the .ova file. Creating the AMI using the .ova file will result in the VA not being able to register to Umbrella.
-
Use the AWS CLI command
import-imageto create import tasks:aws ec2 import-image --description "Umbrella VA" --license-type BYOL --disk-containers "file://containers.json" -
Note the AMI ID and verify that the import has been completed through the
describe-import-image-taskscommand:aws ec2 describe-import-image-tasks --import-task-ids <AMI ID> -
Once the VA Amazon Machine Image is created, use this image to launch multiple VAs. For more information, see Step 2. Launch the Virtual Appliance on Amazon Web Services.


