Step 2 - Install the Active Directory Connector
As an administrator, extract the contents of the Cisco AD Connector ZIP file to a folder on the server, and then navigate to that folder.
|
|
If you run the AD Connector installer from the root directory of your server, you may encounter installation errors.
|
Before you begin
- Full Admin user role. For more information, see Manage Accounts.
- Set up the AD Connector server, user account, and environment for deploying the AD Connector. For more information, see Prerequisites for AD Connectors.
- Add the AD components in Secure Access. For more information, see Add AD Components in Secure Access.
- (Optional) Configure Authentication for AD Connectors. For more information, see Configure Authentication for AD Connectors and VAs.
- (Optional) Configure software updates on the AD Connector. For more information, see Configure Updates on AD Connectors.
Procedure
| 1 |
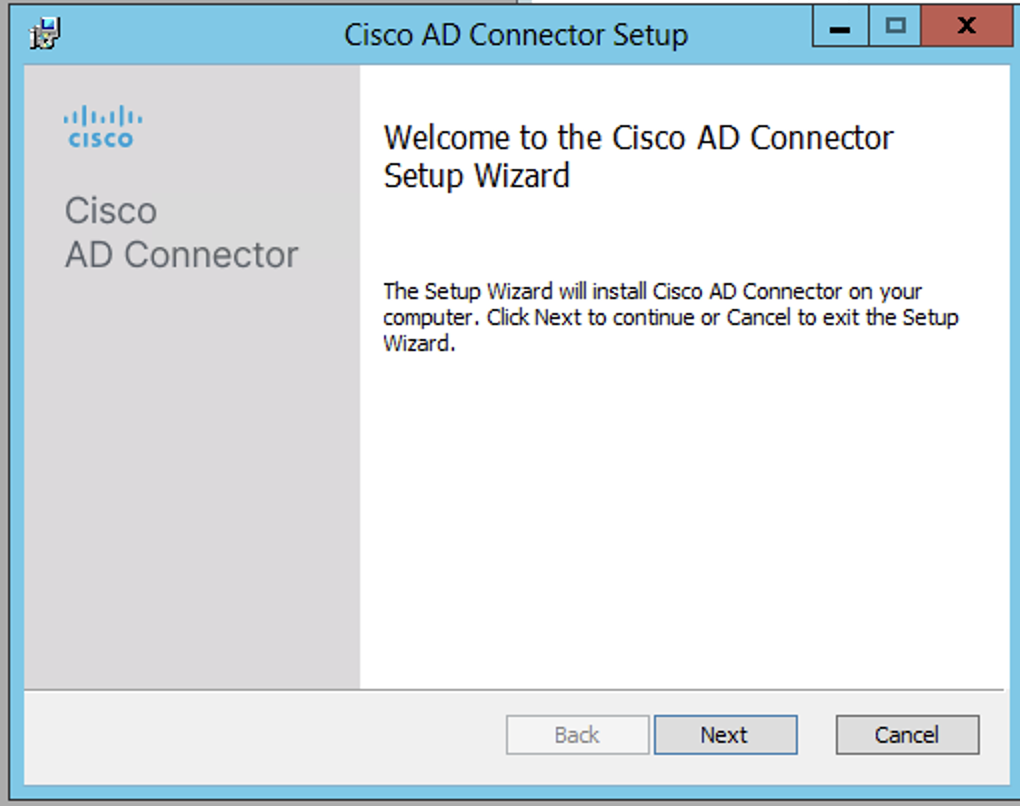
Run setup.msi, and then in the Cisco AD Connector Setup wizard, click Next. 
|
| 2 |
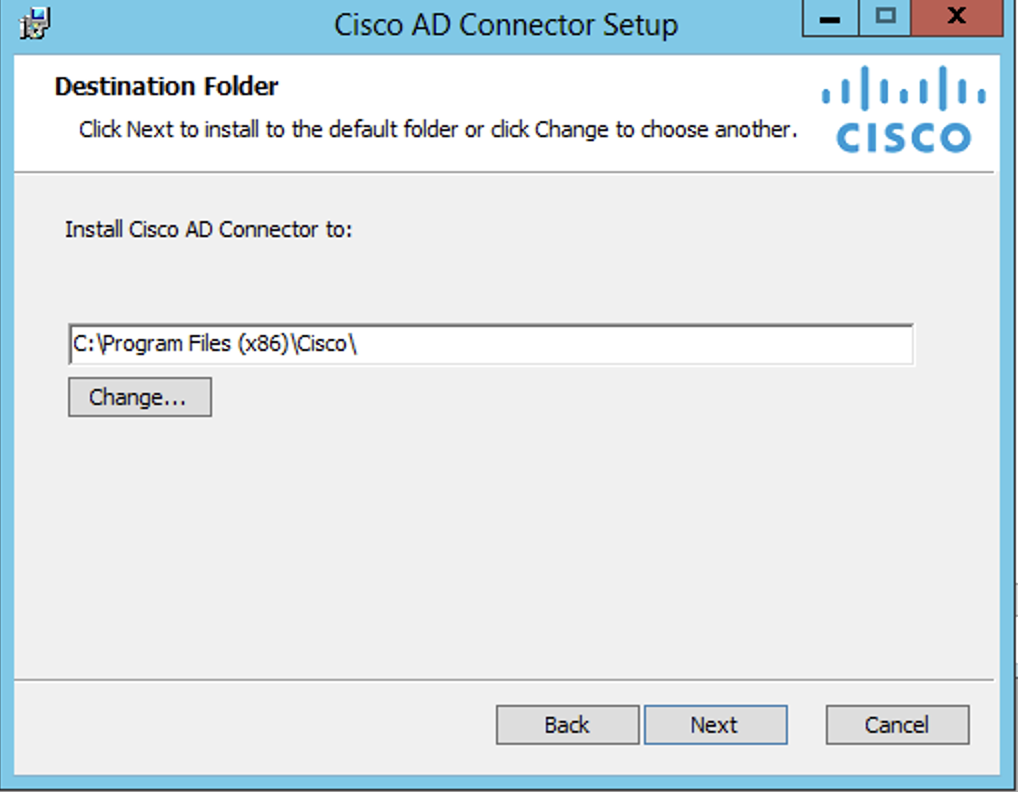
Choose the directory on the server to install the Cisco AD Connector. 
|
| 3 |
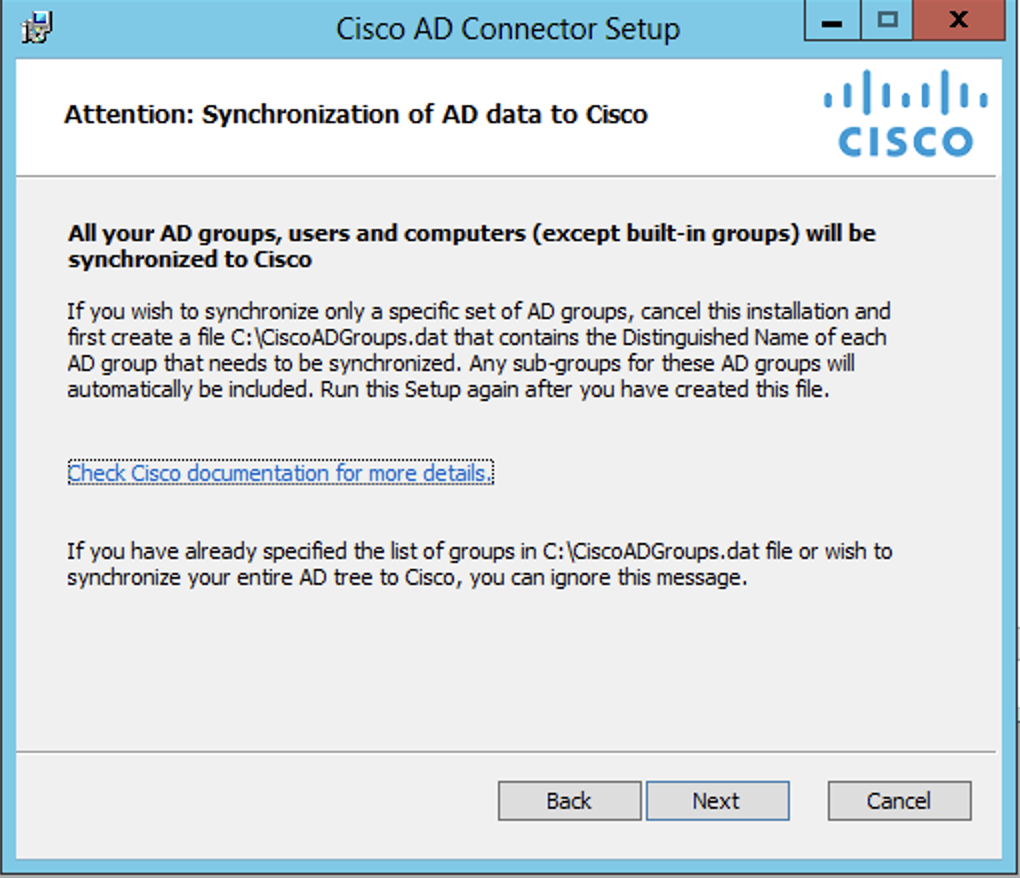
Confirm that you permit your AD Users and Groups to sync to Secure Access from the Cisco AD Connector. 
|
| 4 |
Add your Active Directory credentials. Enter the Username of the Connector user (Cisco_Connector or custom username) and the Password. |
| 5 |
Follow the remaining prompts in the setup, and when finished click Finish. |
