Associate Private Resources with Firewall Threat Defense
Before you begin
You must have created the private resources on Secure Access.
Procedure
| 1 |
In Cisco Defense Orchestrator, click . Secure Access product menu displays in the left navigation bar. |
||
| 2 |
Click . |
||
| 3 |
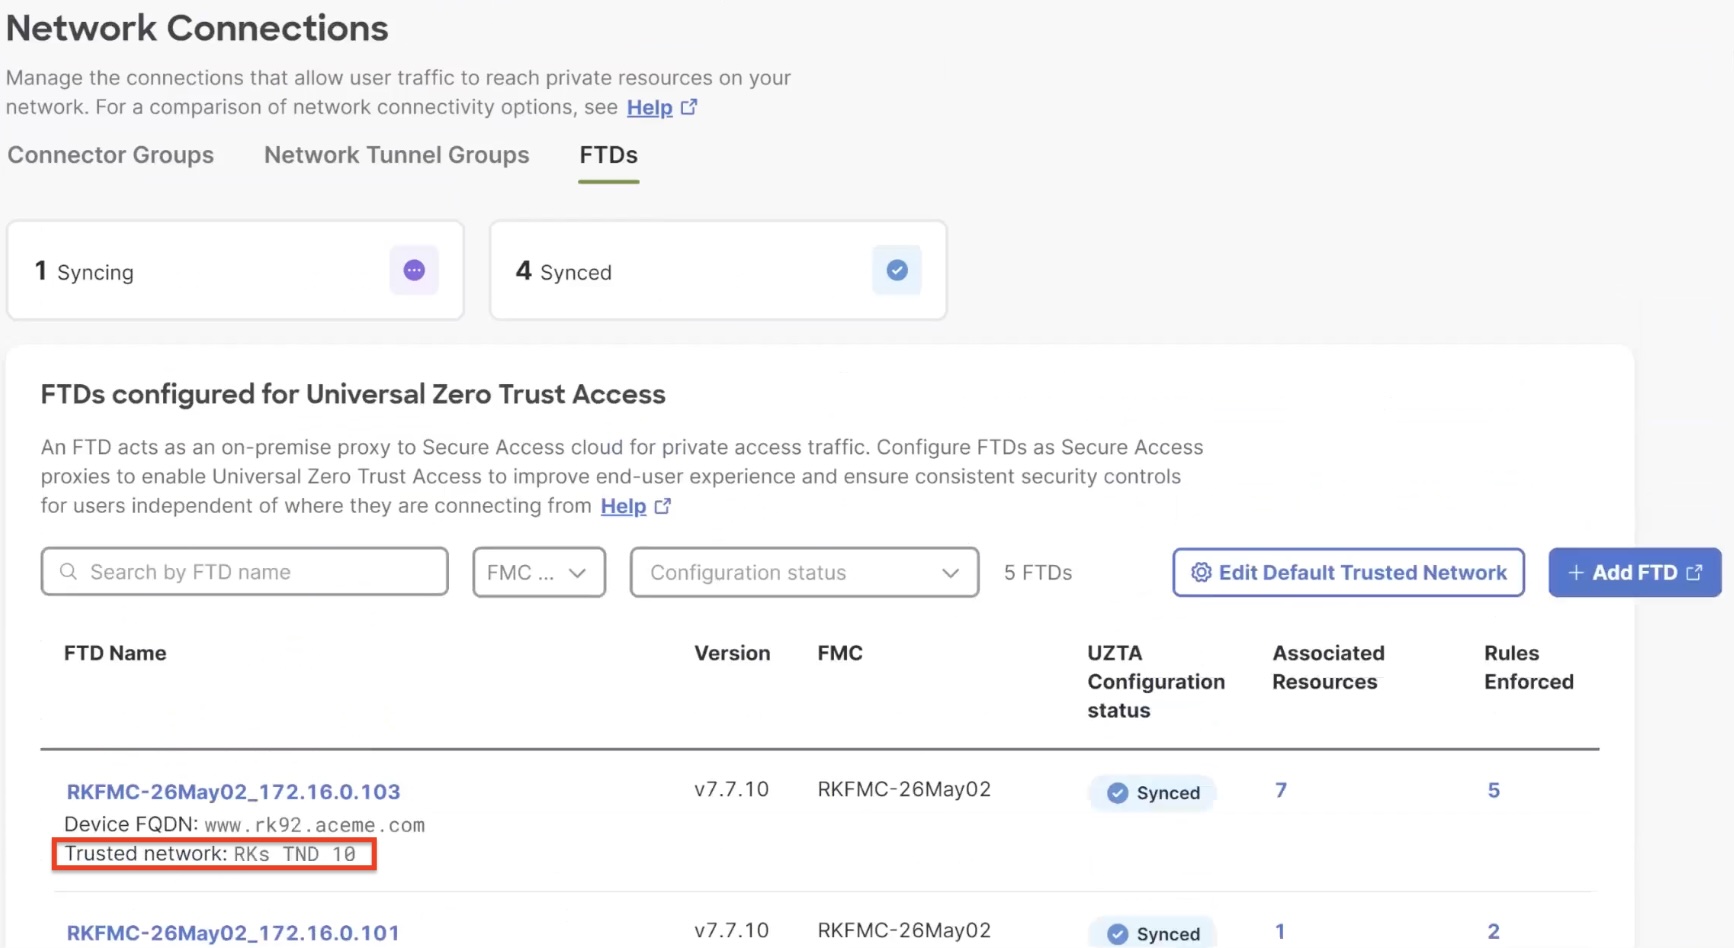
Click the FTDs tab. The available Firepower Threat Defense devices that are configured for universal zero trust network access are displayed.
Ensure that the device is associated with a trusted network to enforce policies on traffic originating from the trusted network before proceeding to the next step. After a Threat Defense device is onboarded, it is automatically associated with a default trusted network if one exists. Otherwise, you must create a trusted network and associate it with the Threat Defense device. |
||
| 4 |
Click the name of a Threat Defense device to configure. |
||
| 5 |
In the right pane, click Associate Resources.
|
||
| 6 |
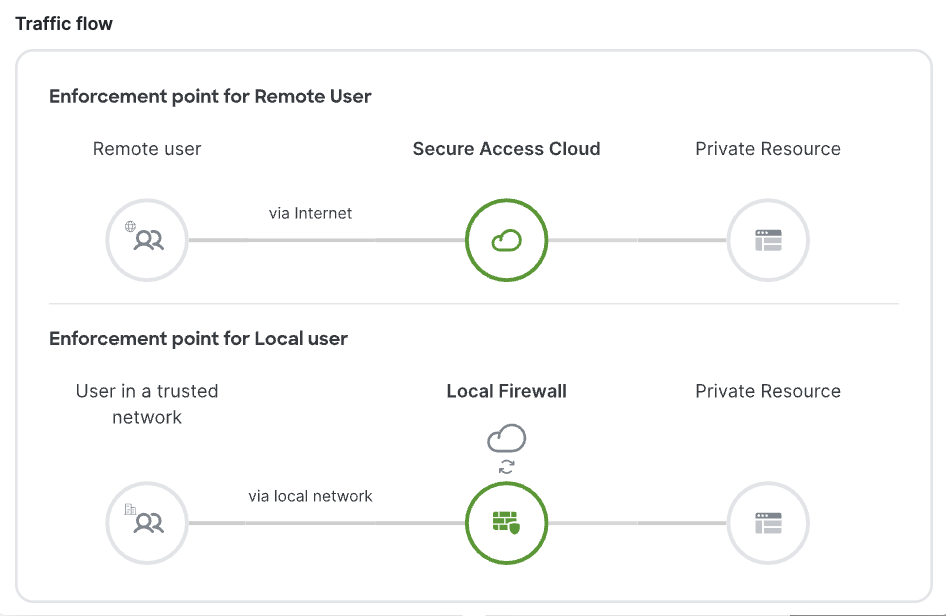
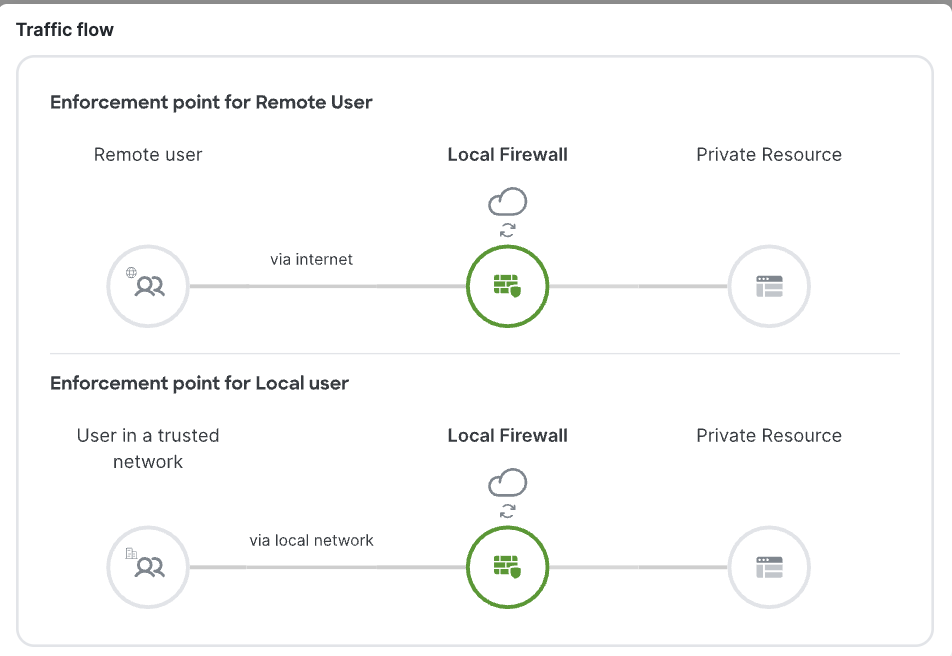
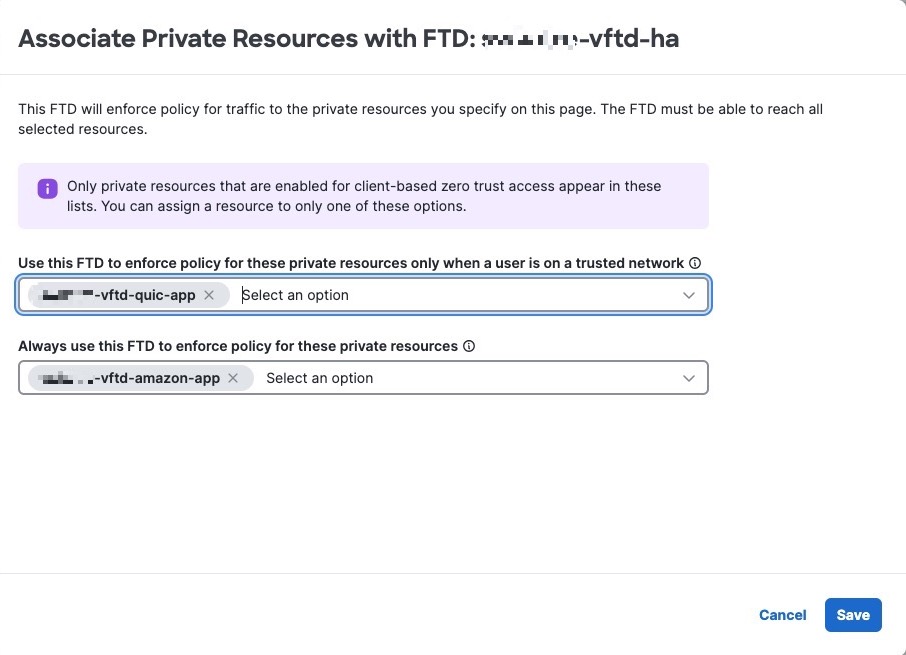
In the Associate Private Resources dialog box, make the following selections to specify the access policy enforcement and traffic flow for a user:
The following figure shows an example of using a Threat Defense device to enforce access rules for the vftd-quic-app for on-premises users and vftd-amazon-app for all users, whether on-premises or remote.
|
||
| 7 |
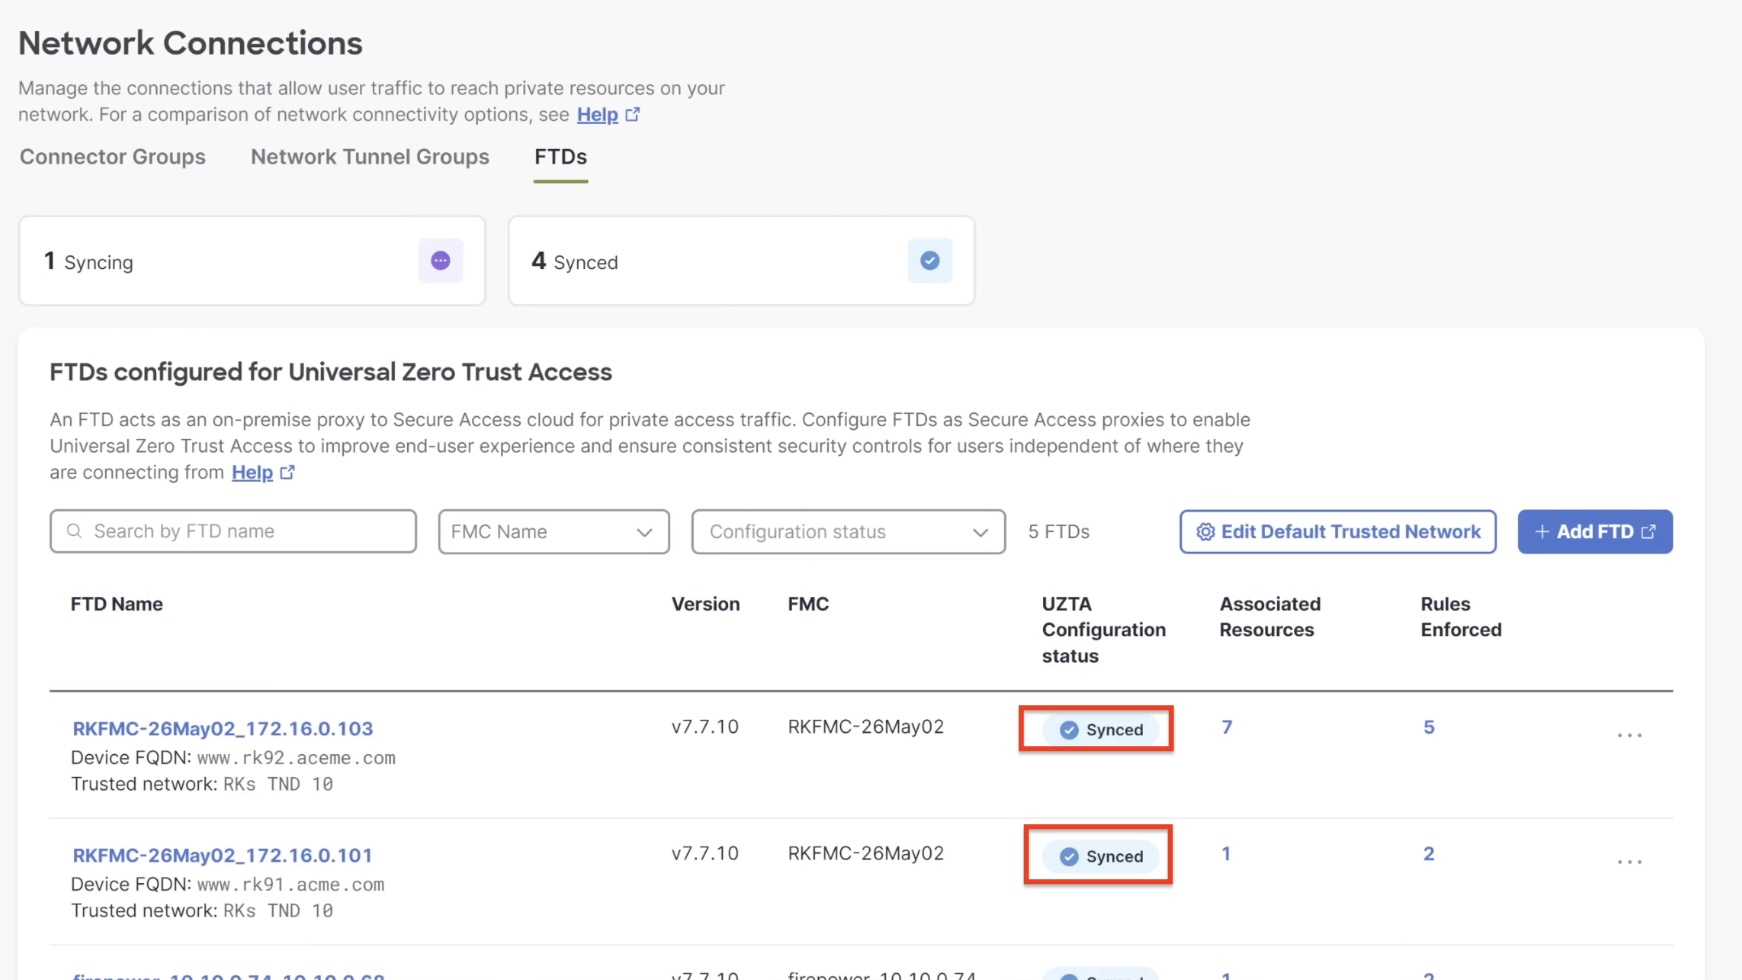
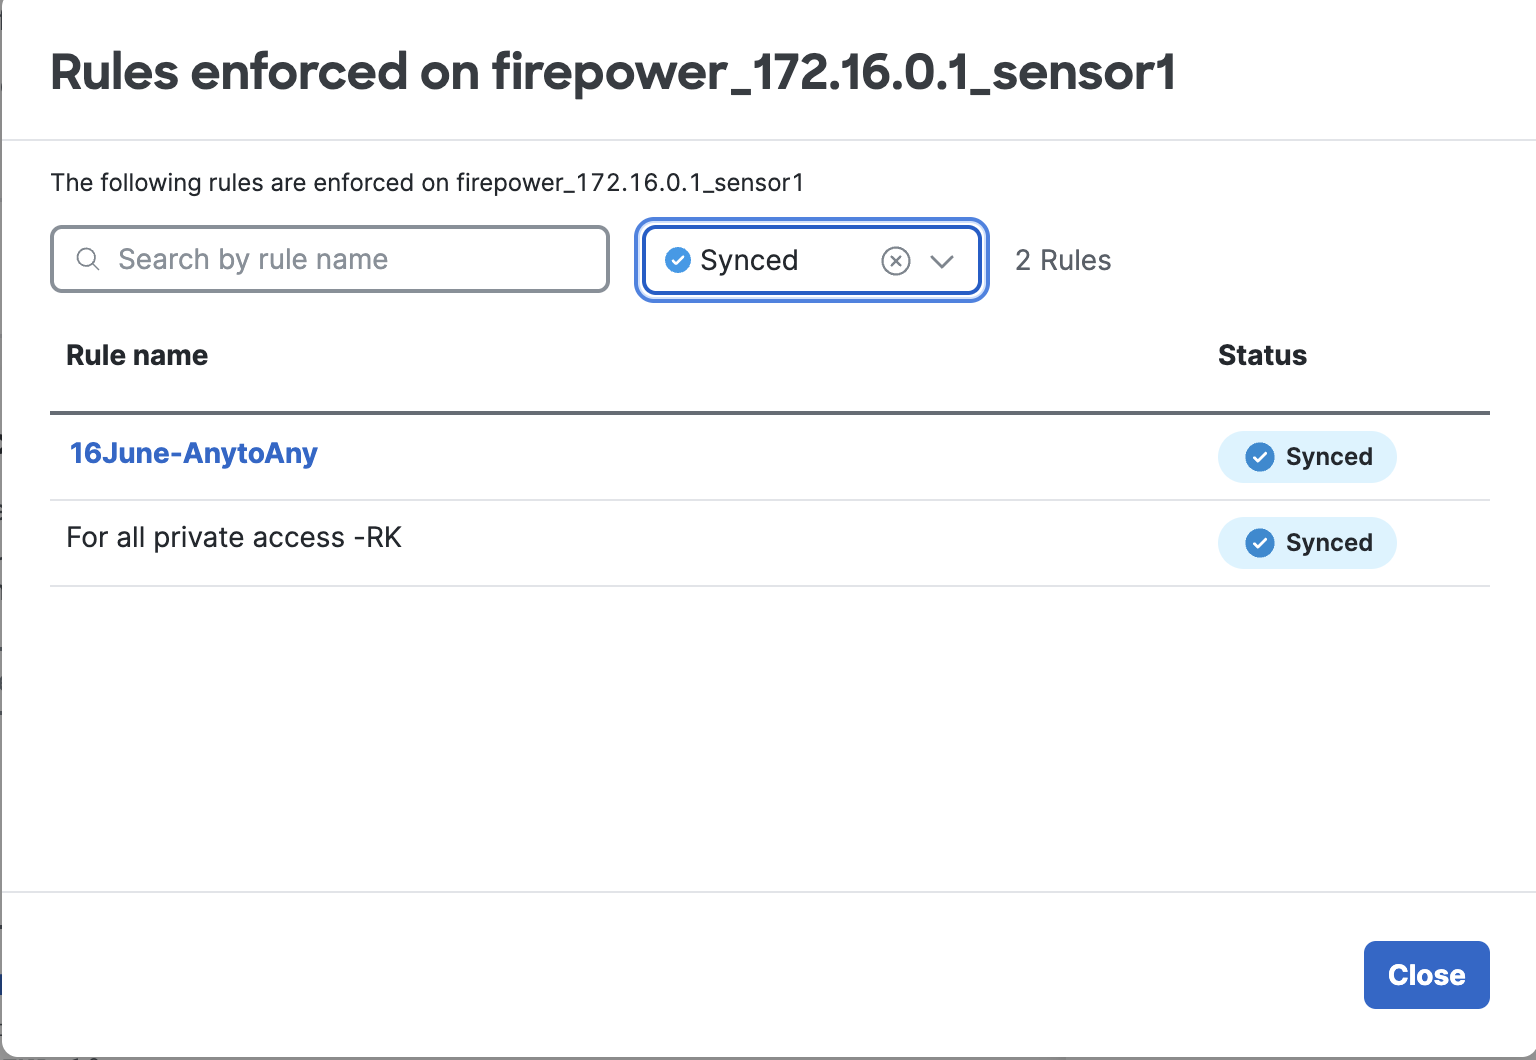
Click Save. The configurations are applied to the device, and the UZTA Configuration status column for the device displays Synced. The following figure shows an example.
Configuration status can also be:
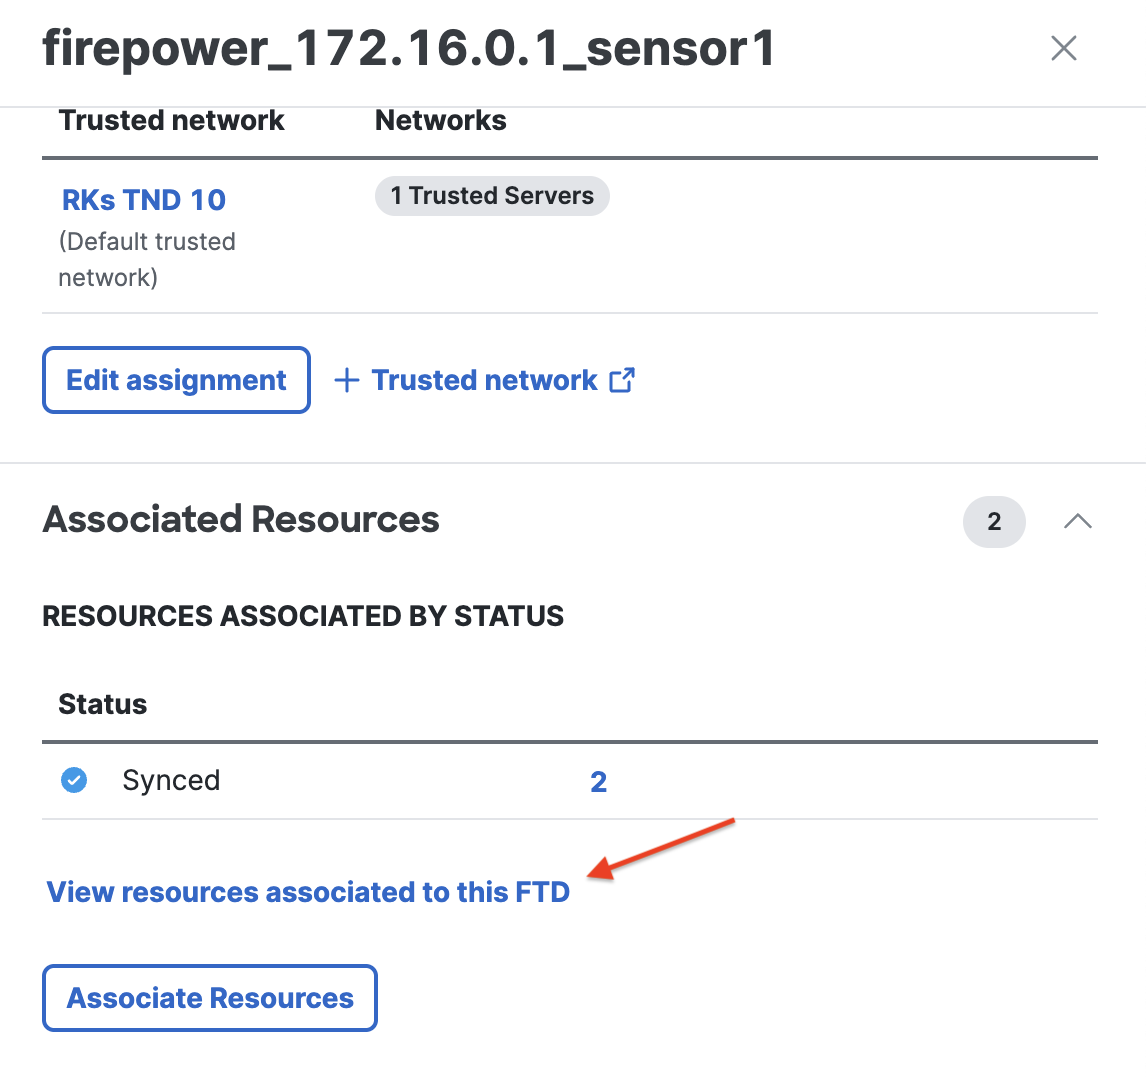
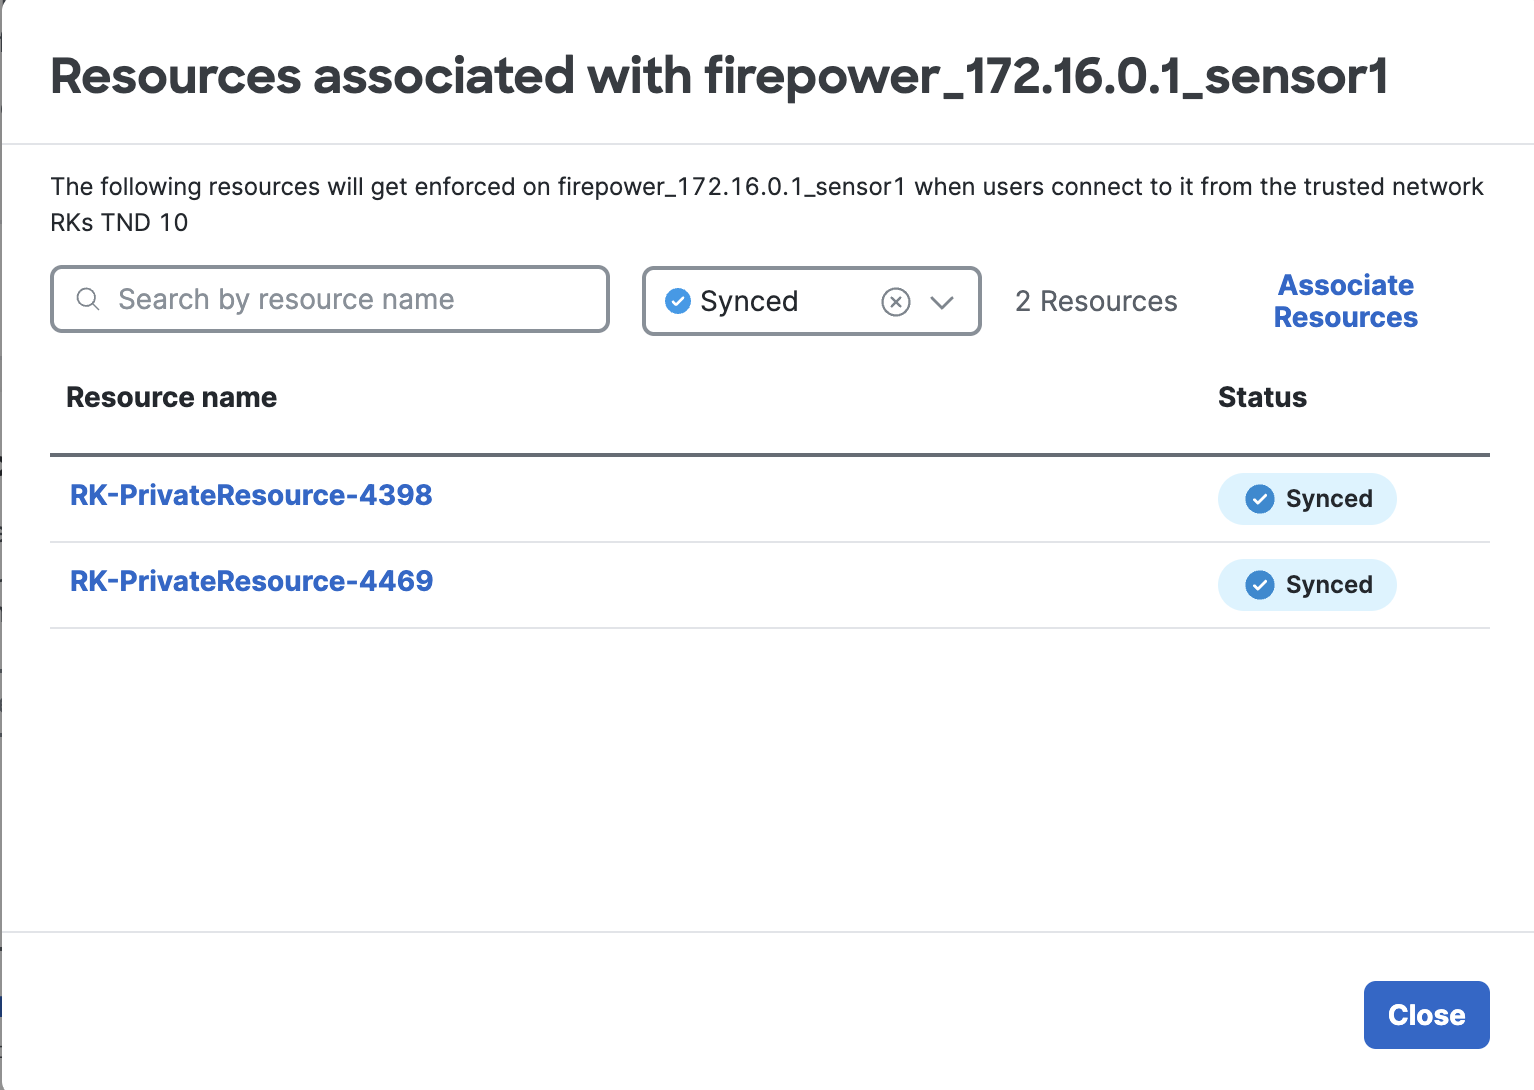
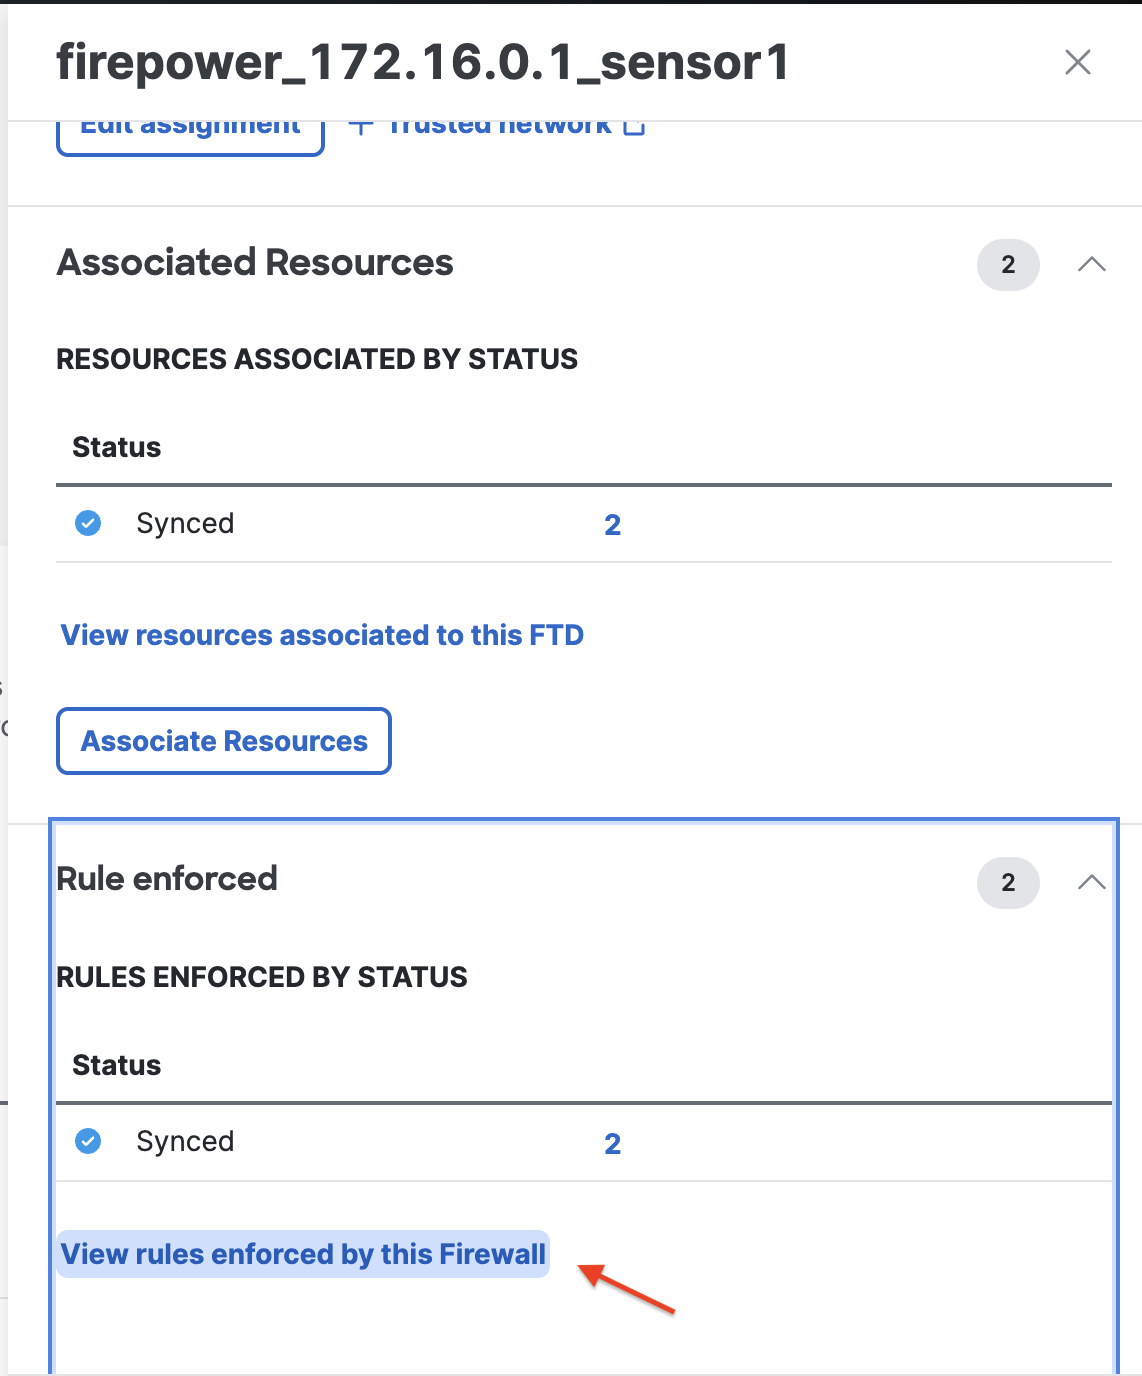
To view a detailed and granular status for each resource and rule associated with a Threat Defense device, perform the actions outlined: Universal ZTNA is now set up for your clients to securely access the private resources in your network. |

