Activate Upgrade Manager in Umbrella
Before you begin
Procedure
| 1 |
Login to your Umbrella account. |
| 2 |
Navigate to Admin > Licensing > Upgrade to Secure Access
and click Request Invitation. Check your email for an invitation to Attach Your Product to Cisco Security
Cloud. |
| 3 |
Click the link in your email to login to your Security Cloud Control account. |
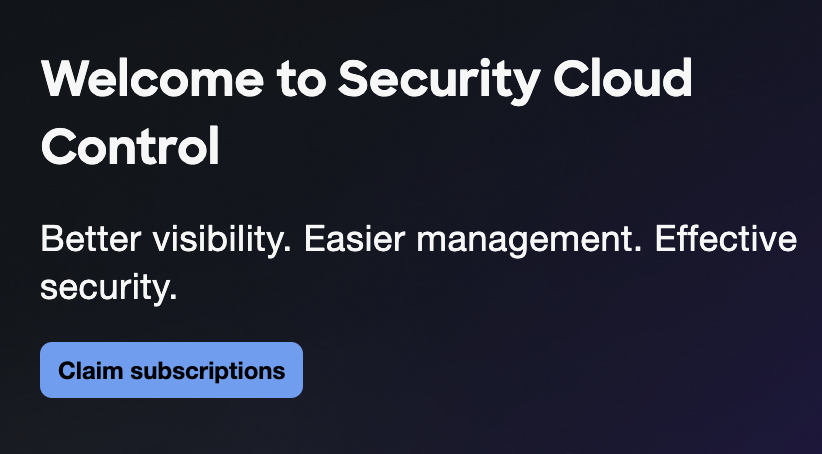
| 4 |
Click Claim subscriptions. |
| 5 |
Check that Cisco Secure Access Instance ID is the same as your
Umbrella organization ID. |
| 6 |
Click Attach product then click Attach to attach your Umbrella organization to the Secure Access instance. This action cannot be undone. 
|
| 7 |
Click Claim subscription and enter your subscription claim
code. |
| 8 |
Click Next to begin the claim subscription work flow. |
| 9 |
In the drop-down list of Create new instance or attach existing
select Attach existing instance. Do not create a new instance. A new organization will not upgrade to Secure Access - DNS Defense. |
| 10 |
Click throughClaim to associate the subscription details, including subscription ID and product licenses with your new Secure Access organization. Subscription successfully claimed. It may take a few minutes for your product to complete activation. Once your products are fully activated, you can access them from the left-hand navigation or the platform navigator at the top of the SCC page. 
|
| 11 |
In Product and service activation status, click
Action required. |
| 12 |
Click Apply license to link Cisco Secure Access to your existing
Umbrella account. A notification informs you that your license was successfully applied to the Cisco Secure Access instance. 
|
| 13 |
Login to Umbrella dashboard to see Upgrade Manager in the
left-hand navigation. |